

SUMMARY
The ElphaPex DG2 is a powerful Scrypt ASIC miner designed for Litecoin and merge-mining Dogecoin. If you’ve just got your hands on one and are wondering how to set it up, you’re in the right place! This guide covers everything from unboxing to connecting power and Ethernet, configuring the web GUI, and adding your mining pool. The DG2 requires a P13 to C20 power cable, a 240V 30A circuit, and proper ventilation since it produces a lot of heat. Once configured, it will stabilize at around 4,000 – 4,100W and start mining efficiently. Let’s walk through the setup step by step.
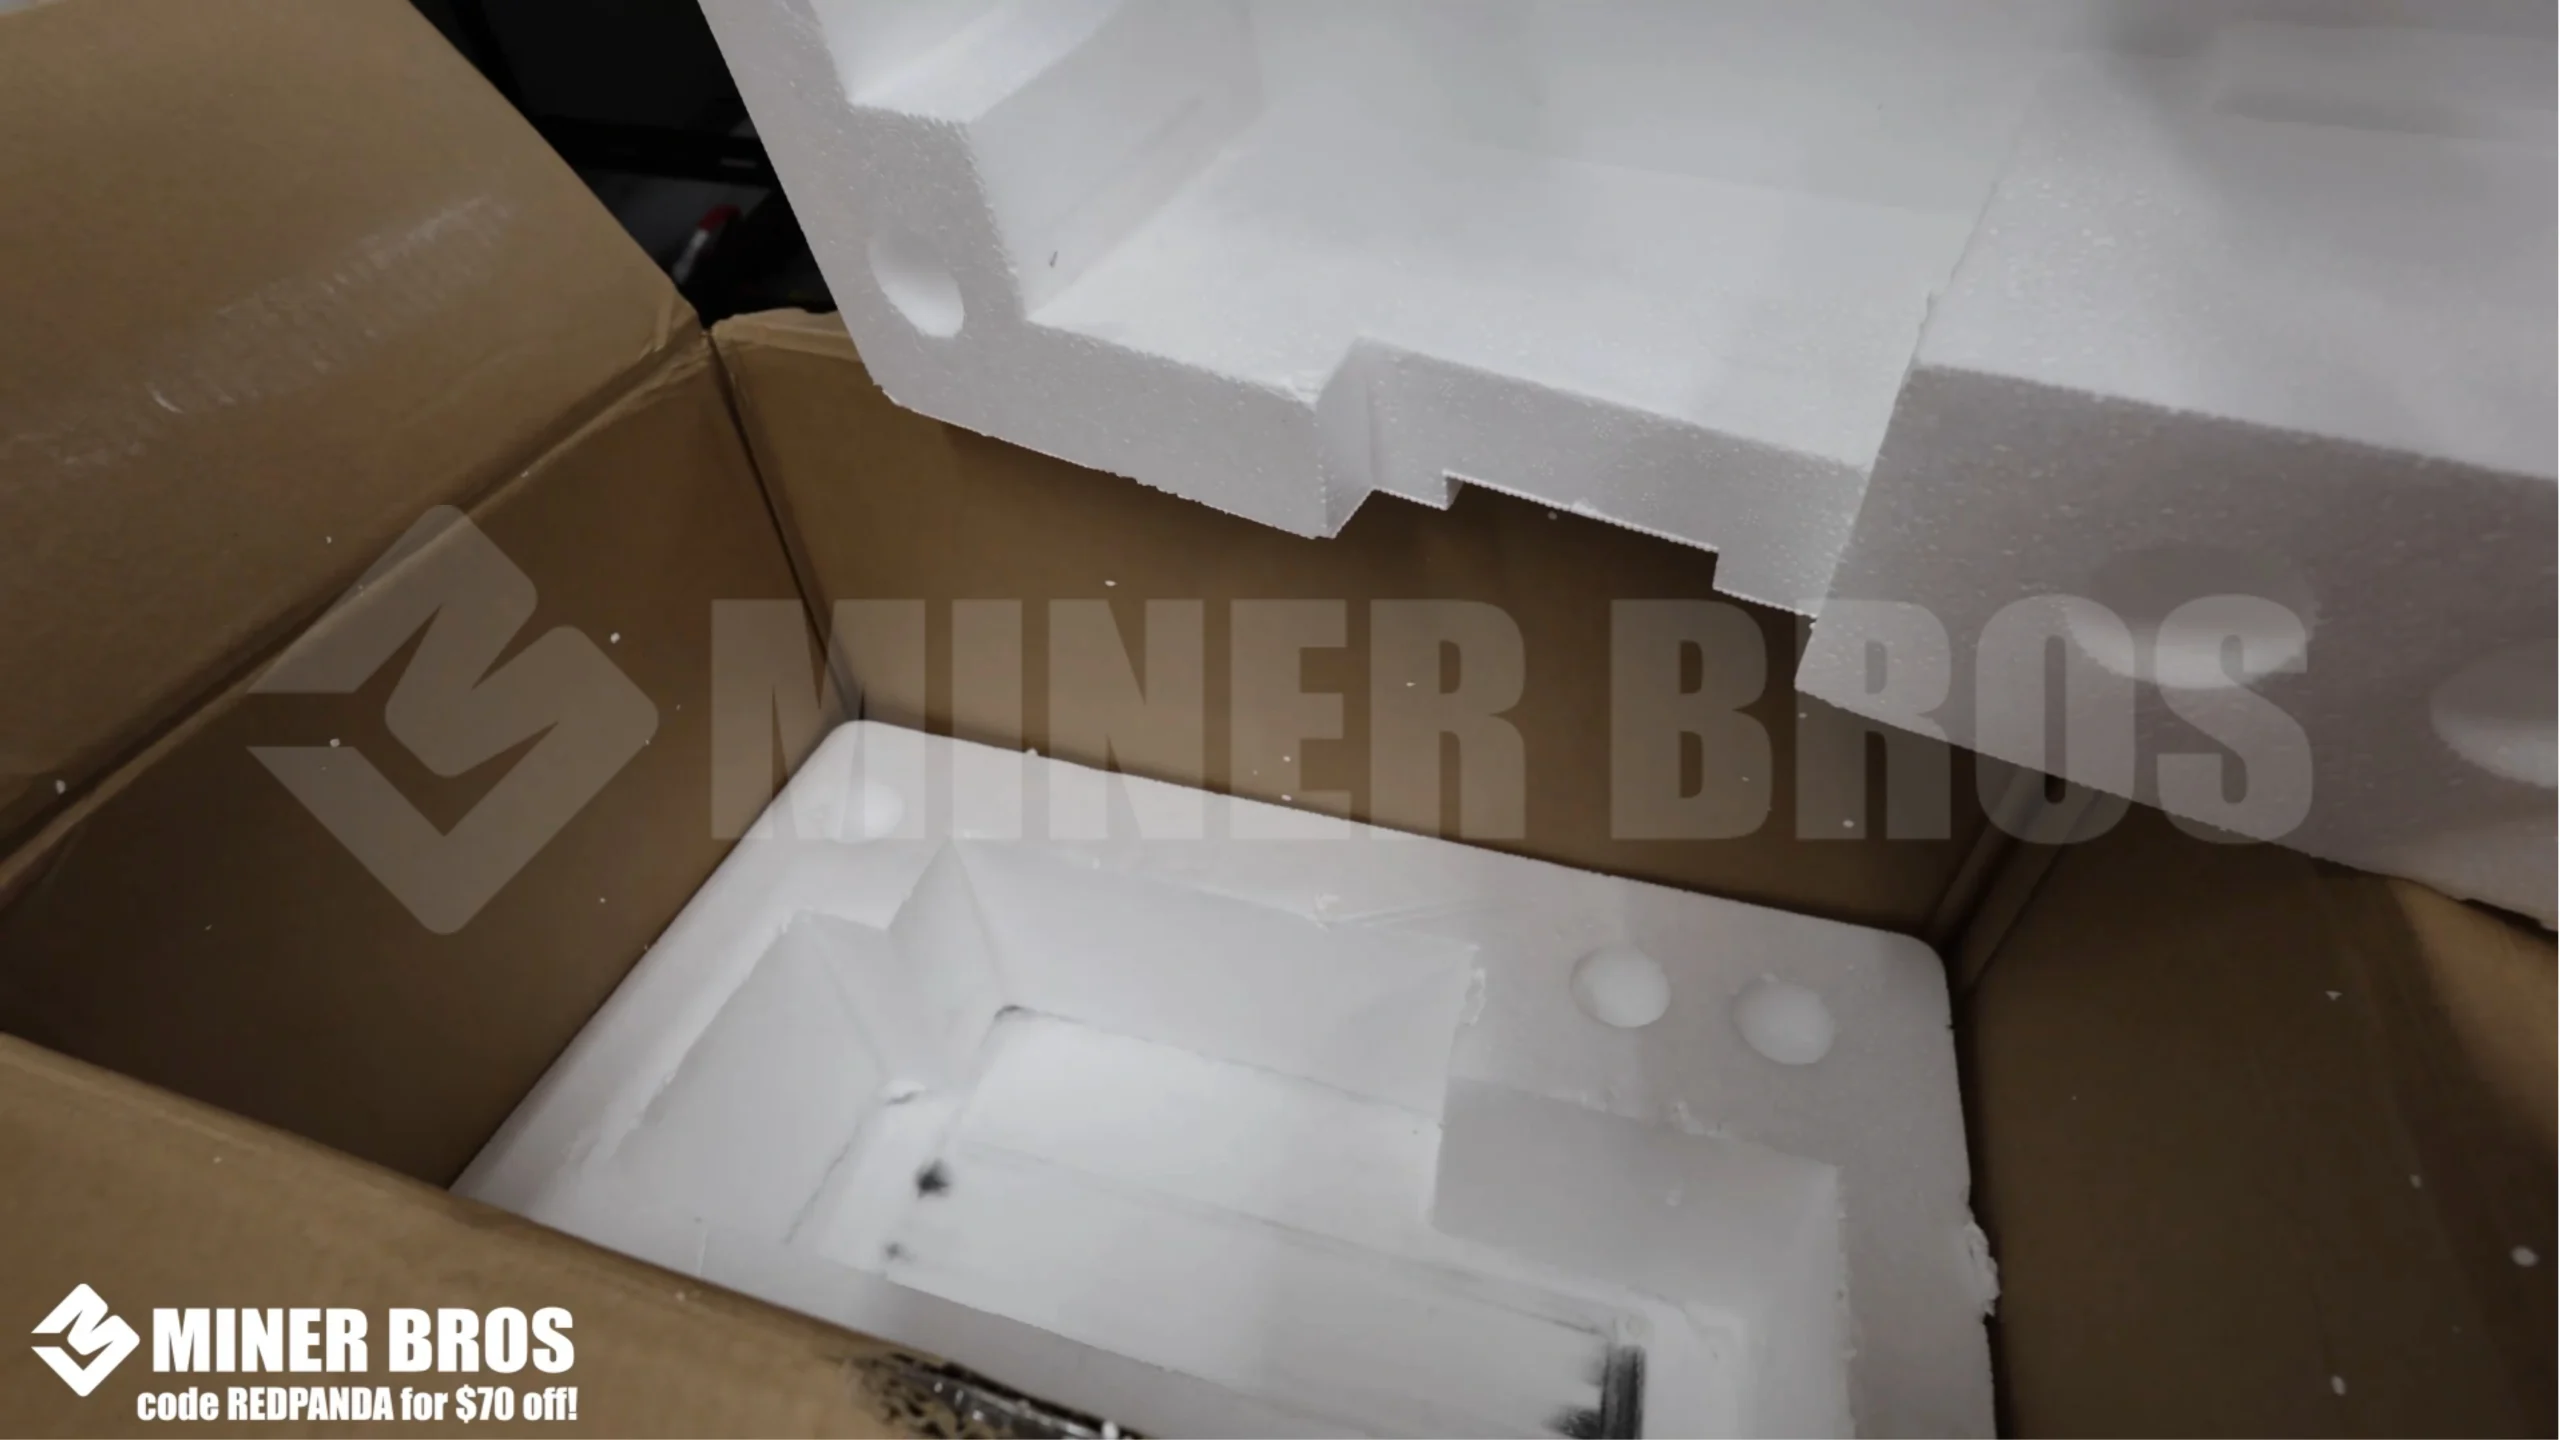
What’s Inside the Shipment Box?
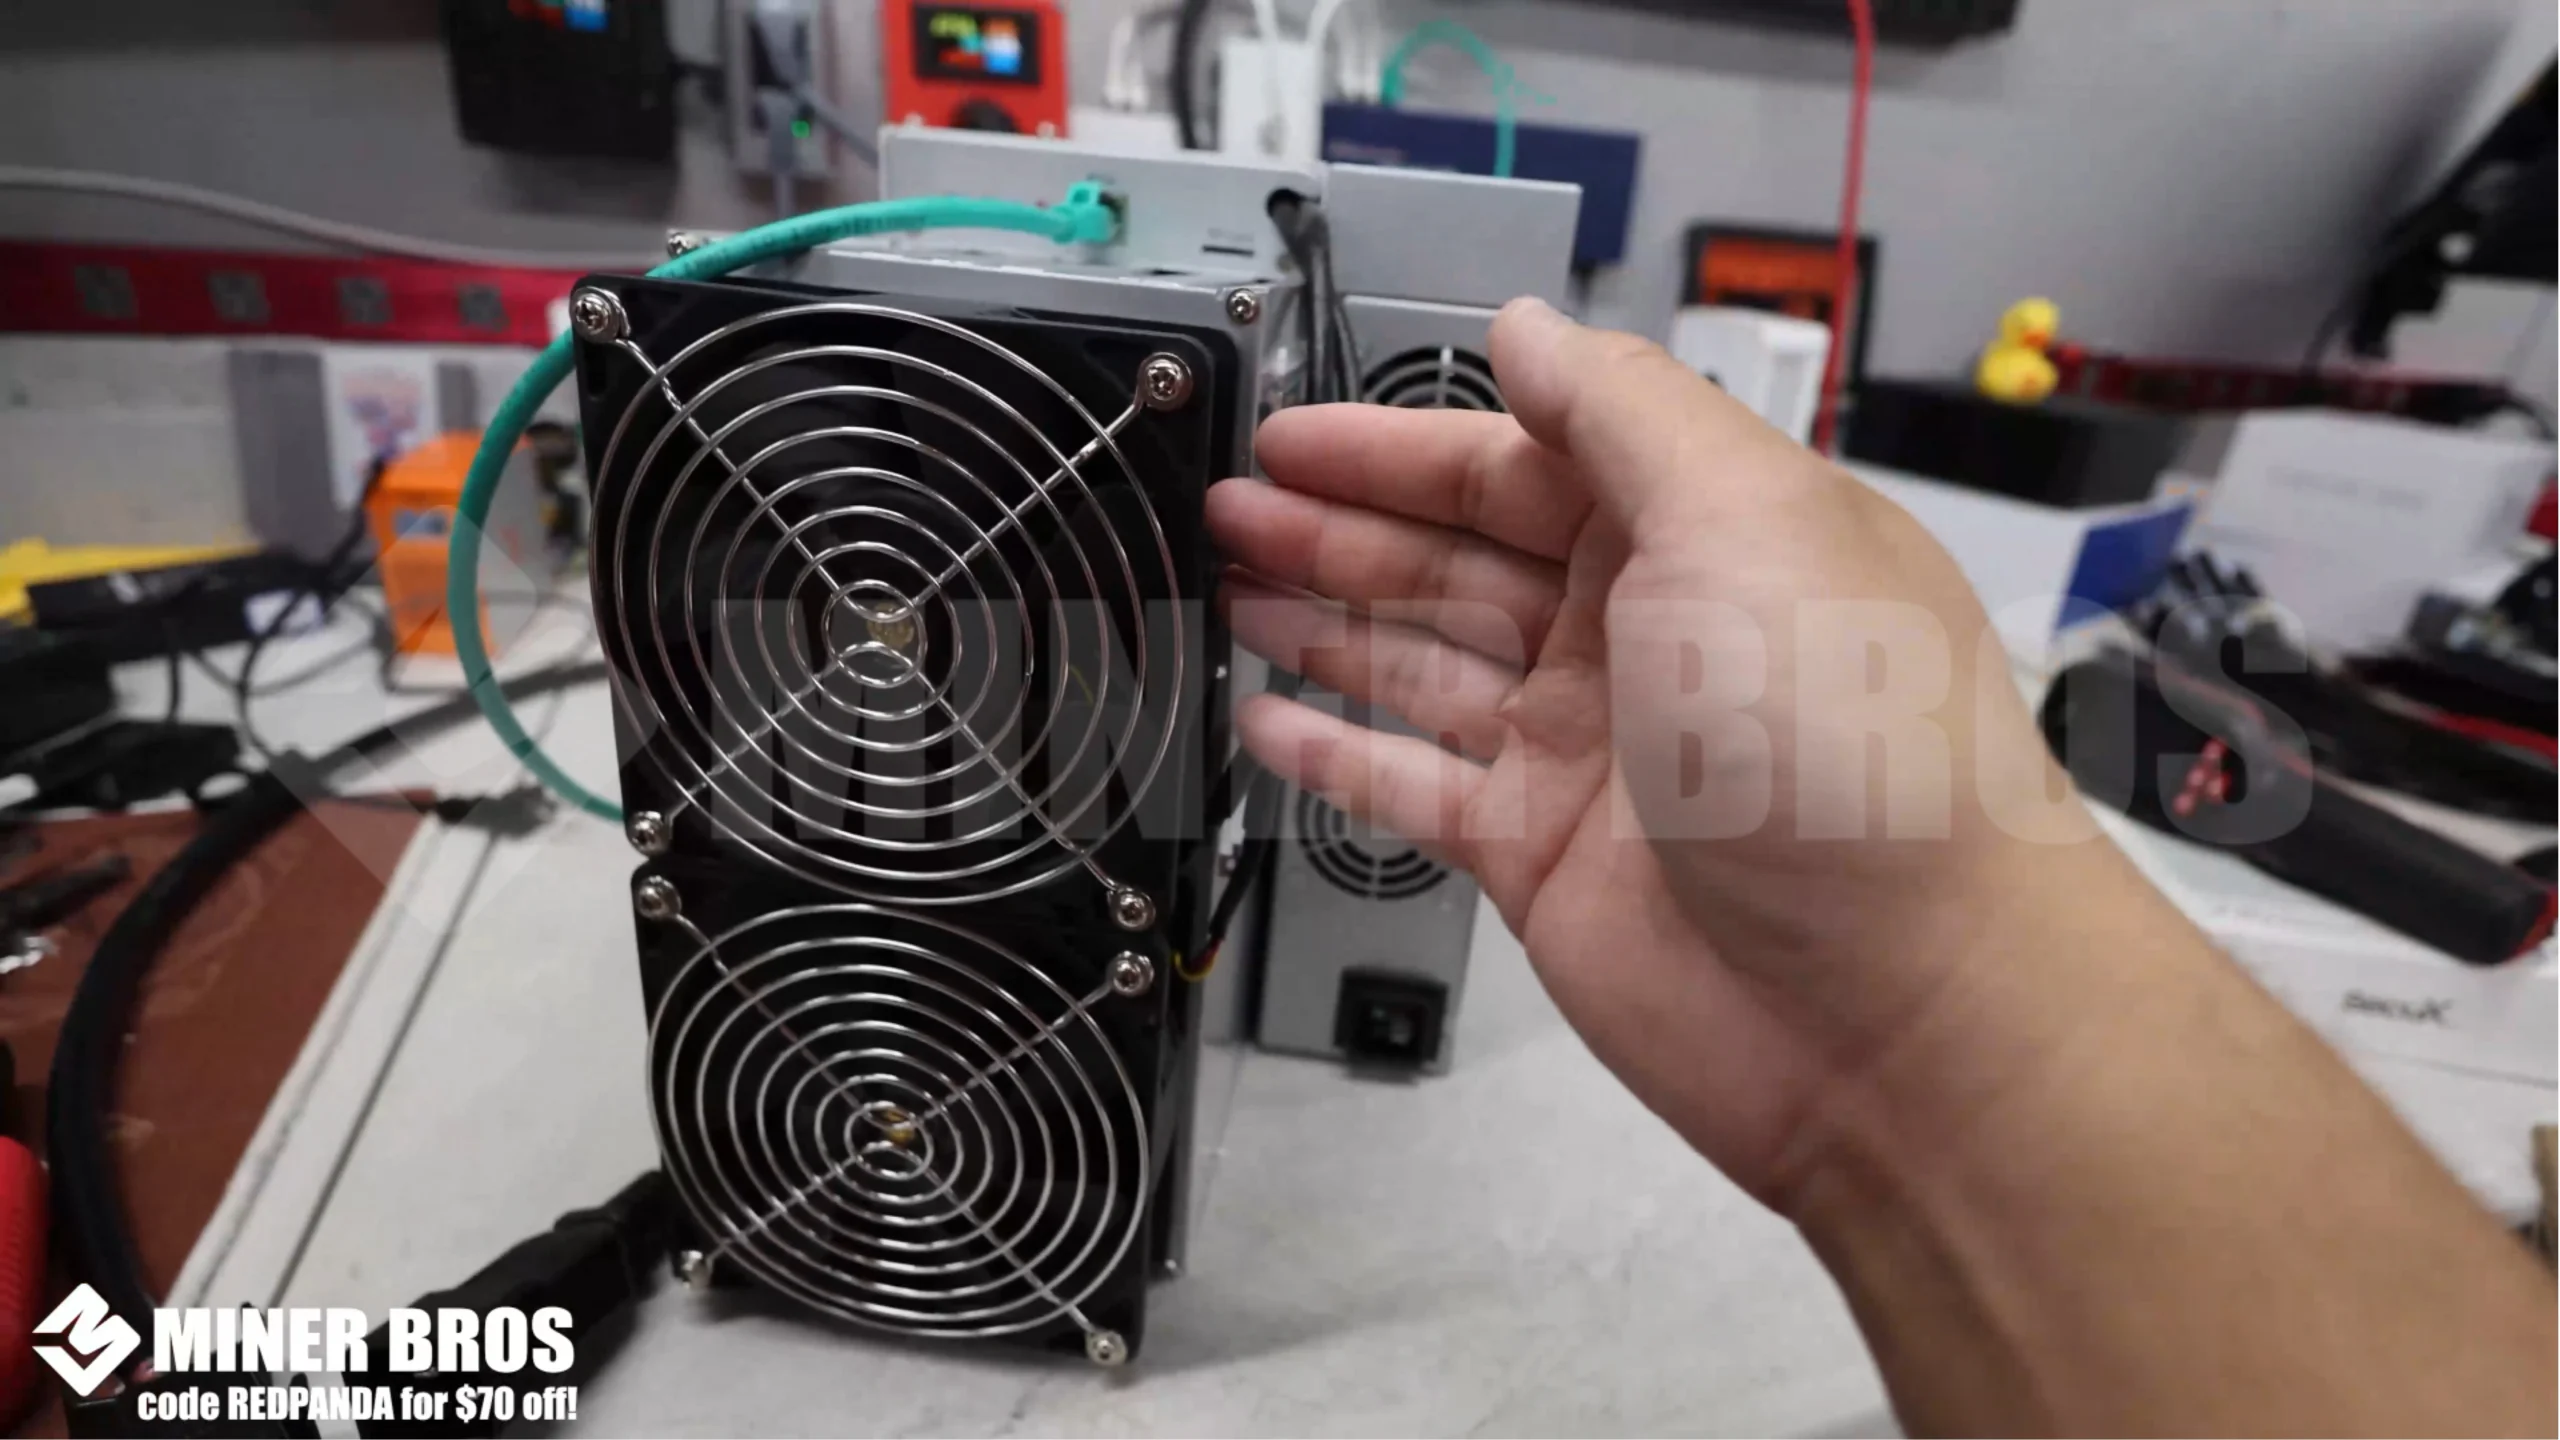
When you order the ElphaPex DG2, it will arrive in a large shipping box with strong protective foam padding inside. This ensures the unit stays safe during transport. Once you unbox it, you’ll find the ElphaPex DG2 miner securely packed. The packaging is solid, and you can feel confident your miner arrives in good condition.
Step-by-Step Instructions for Setting Up the ElphaPex DG2
1. Preparing the ASIC
Before powering on your ElphaPex DG2, there are a few things you need to prepare:
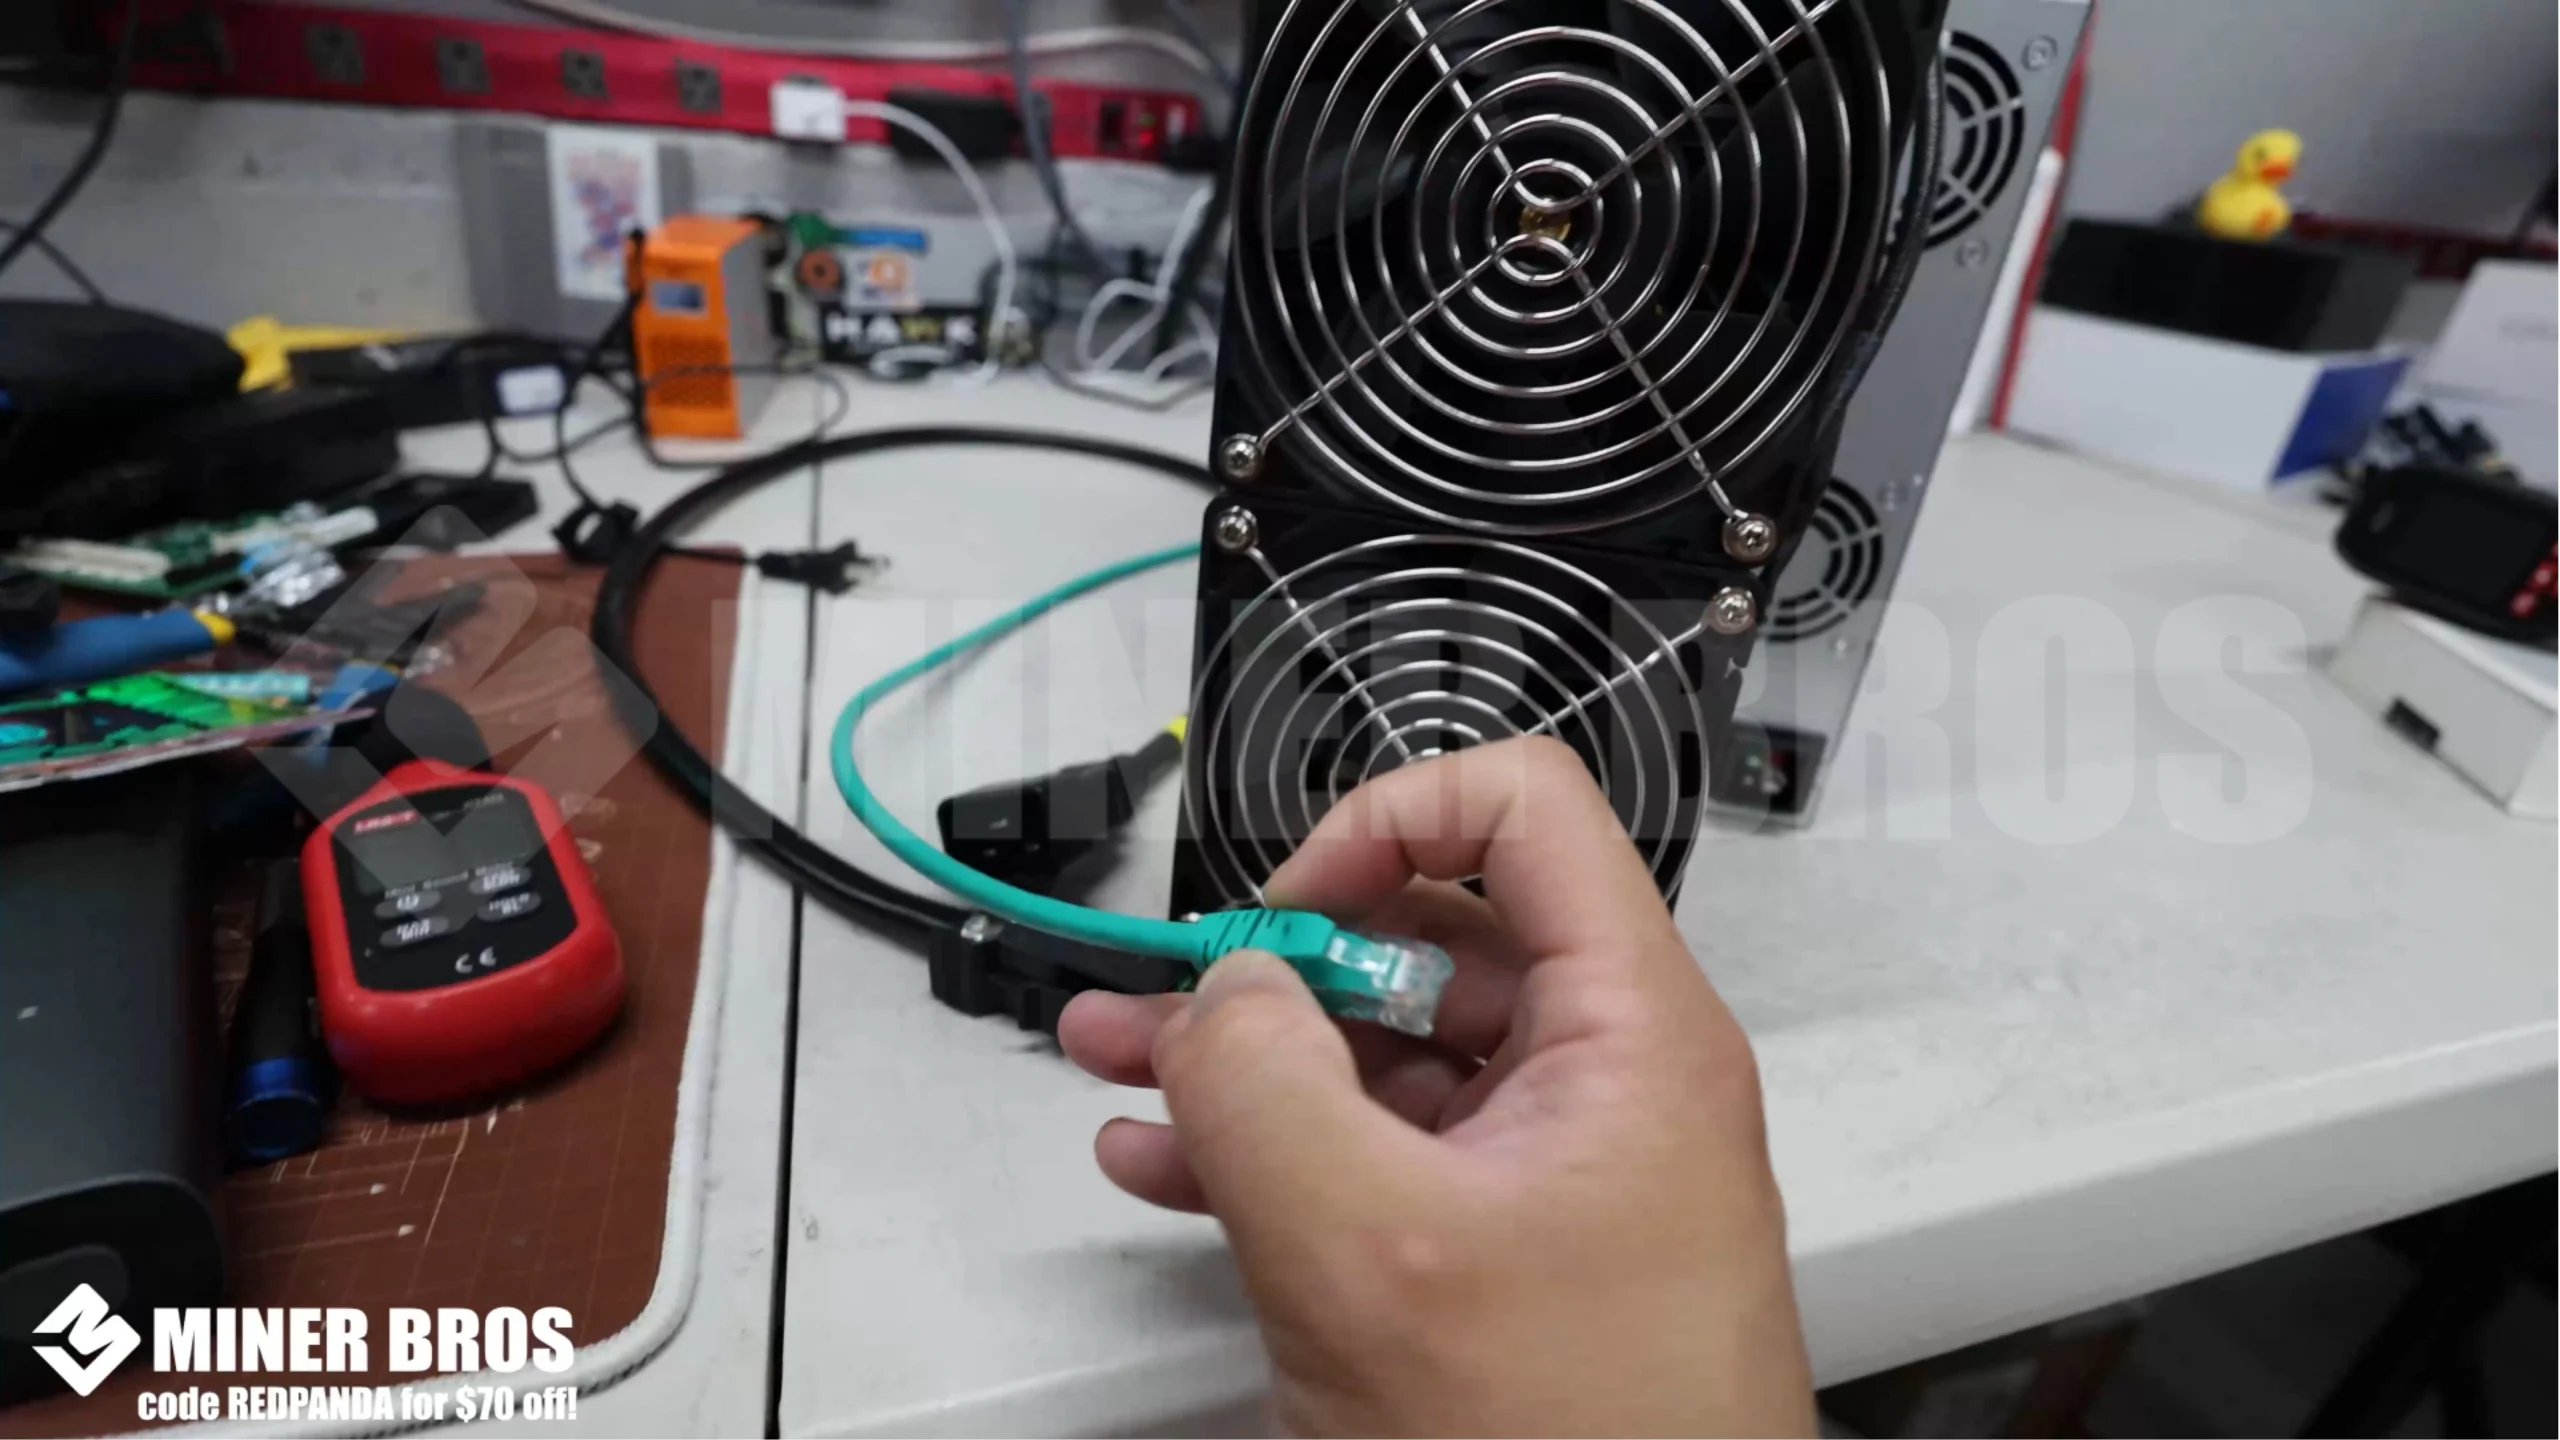
- Internet Connection: The DG2 does not support Wi-Fi, so you’ll need a wired Ethernet connection. Make sure your miner is set up in a location with proper network access.
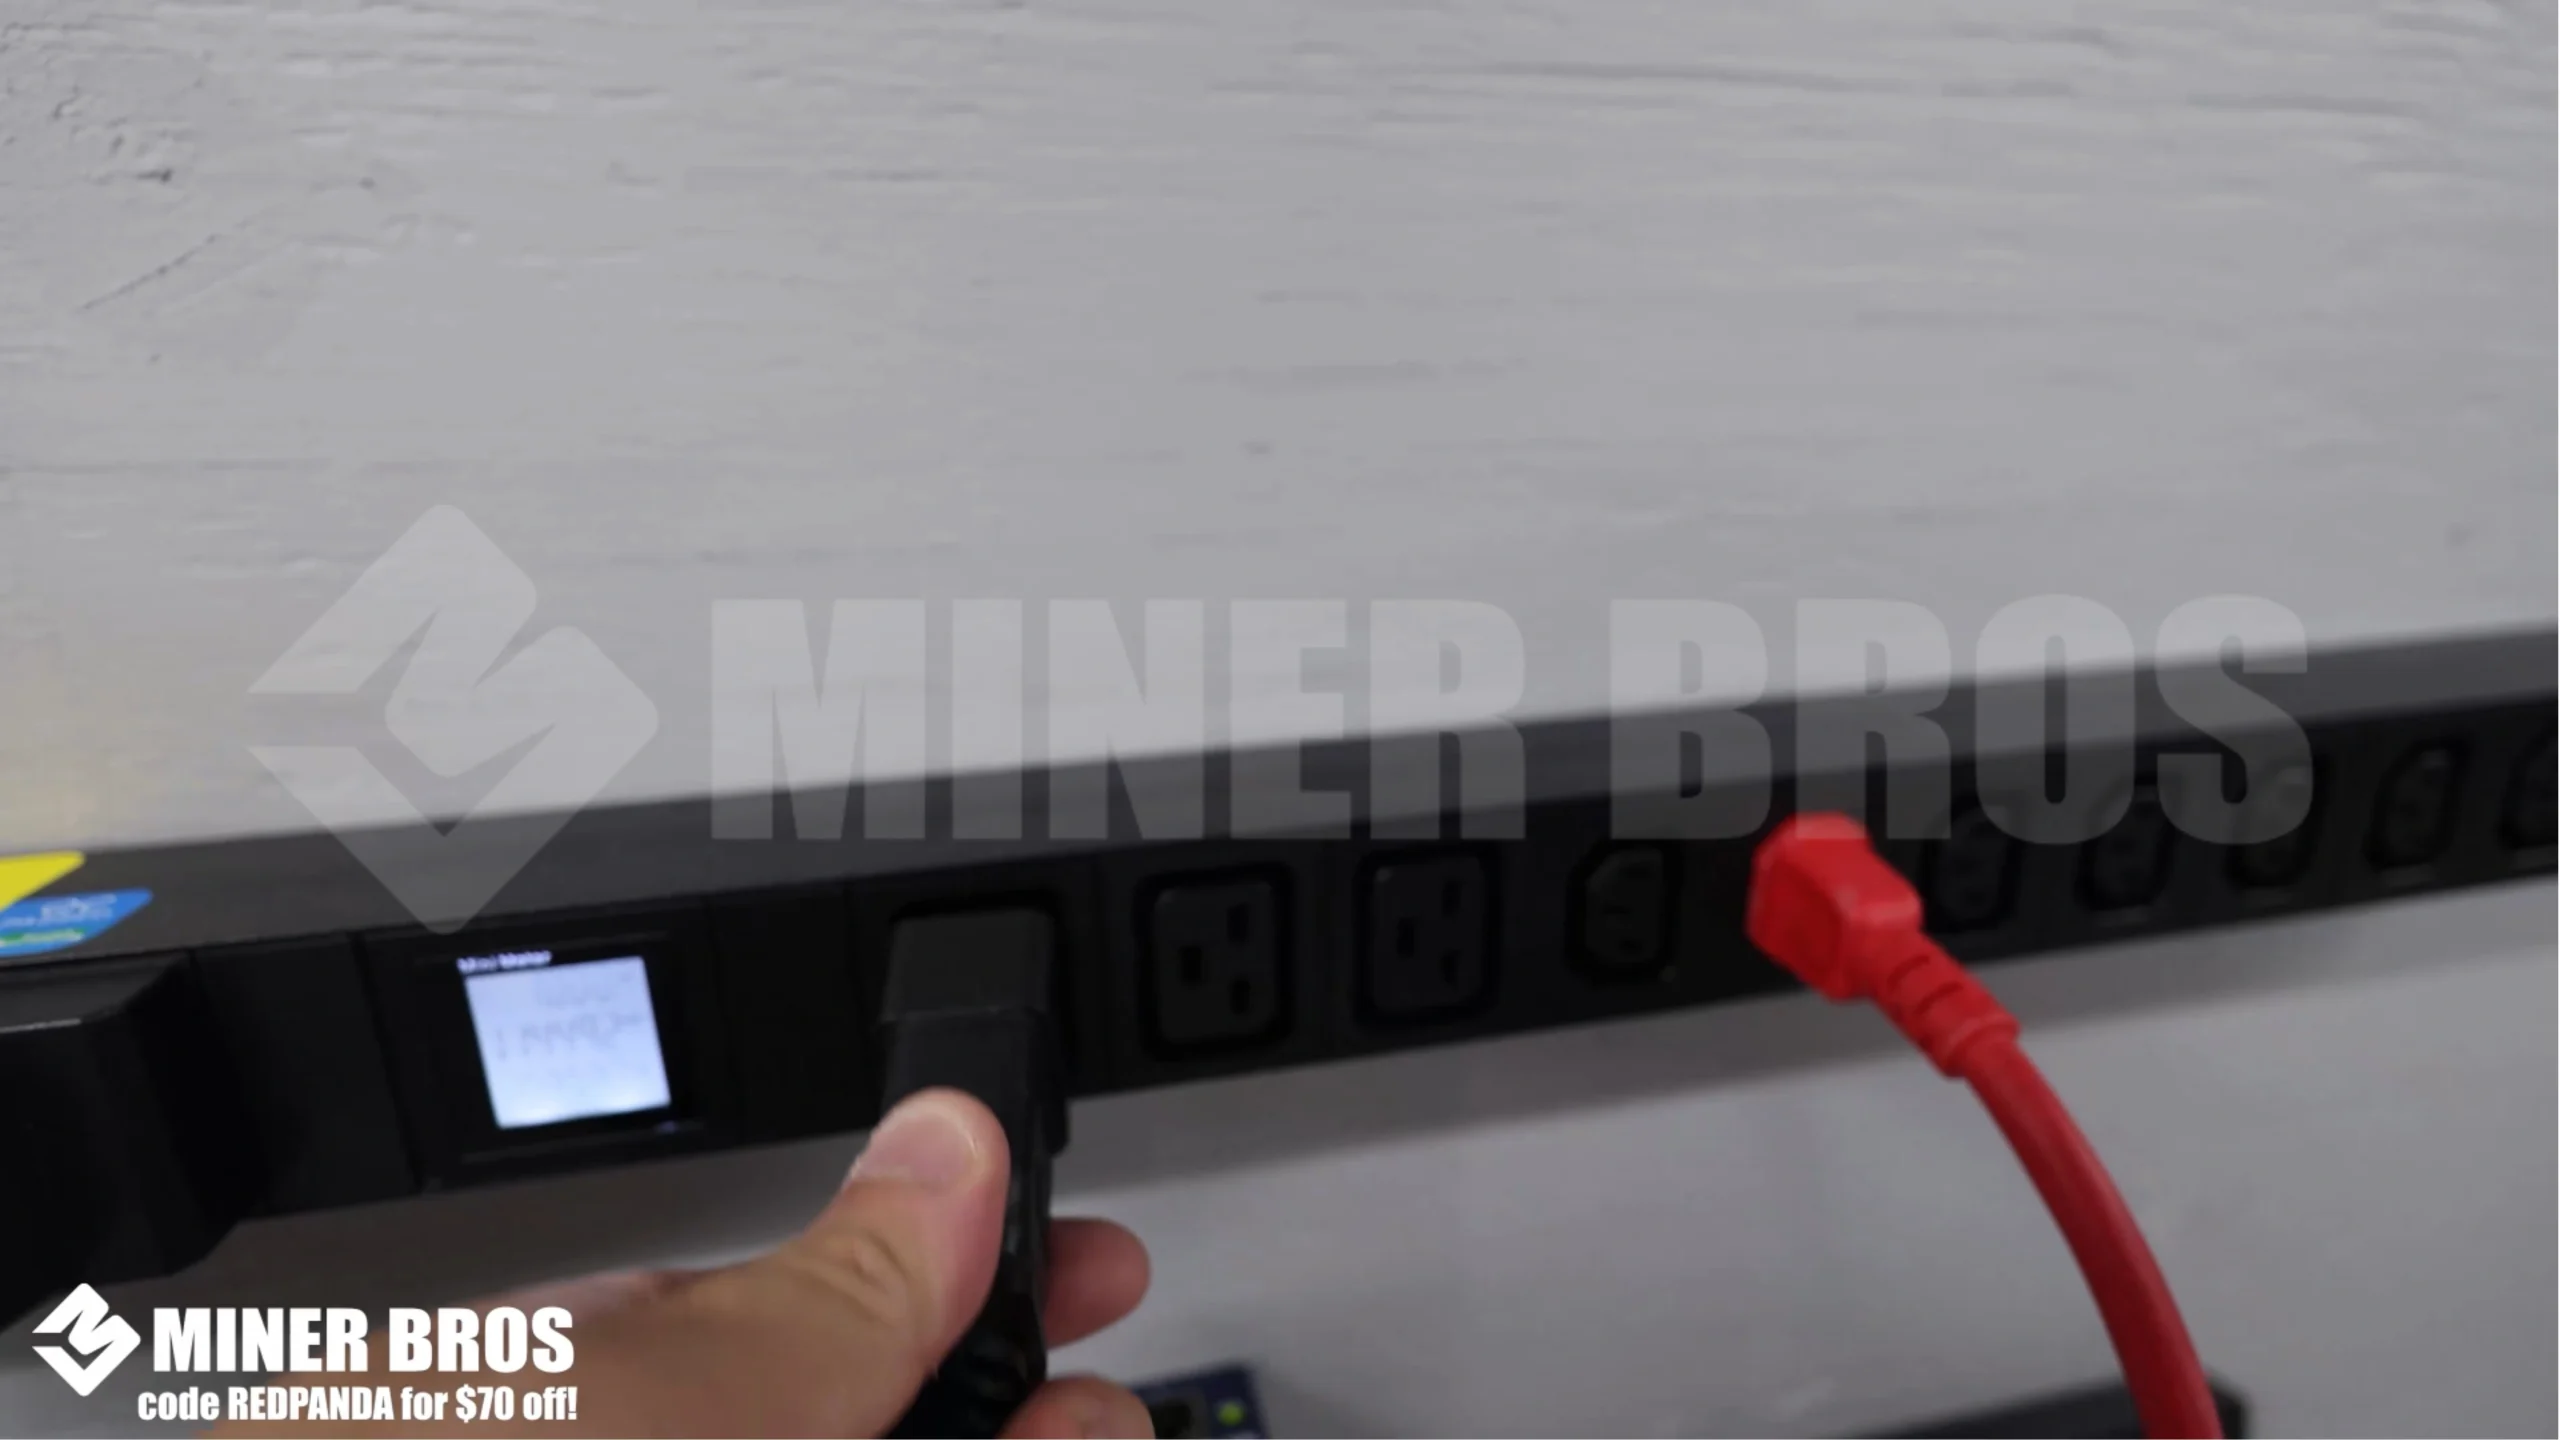
- Power Cable: This unit requires a P13 to C20 cable. Depending on your country, the wall-side connector may vary, but for North America, it comes with the standard P13 to C20 cable.
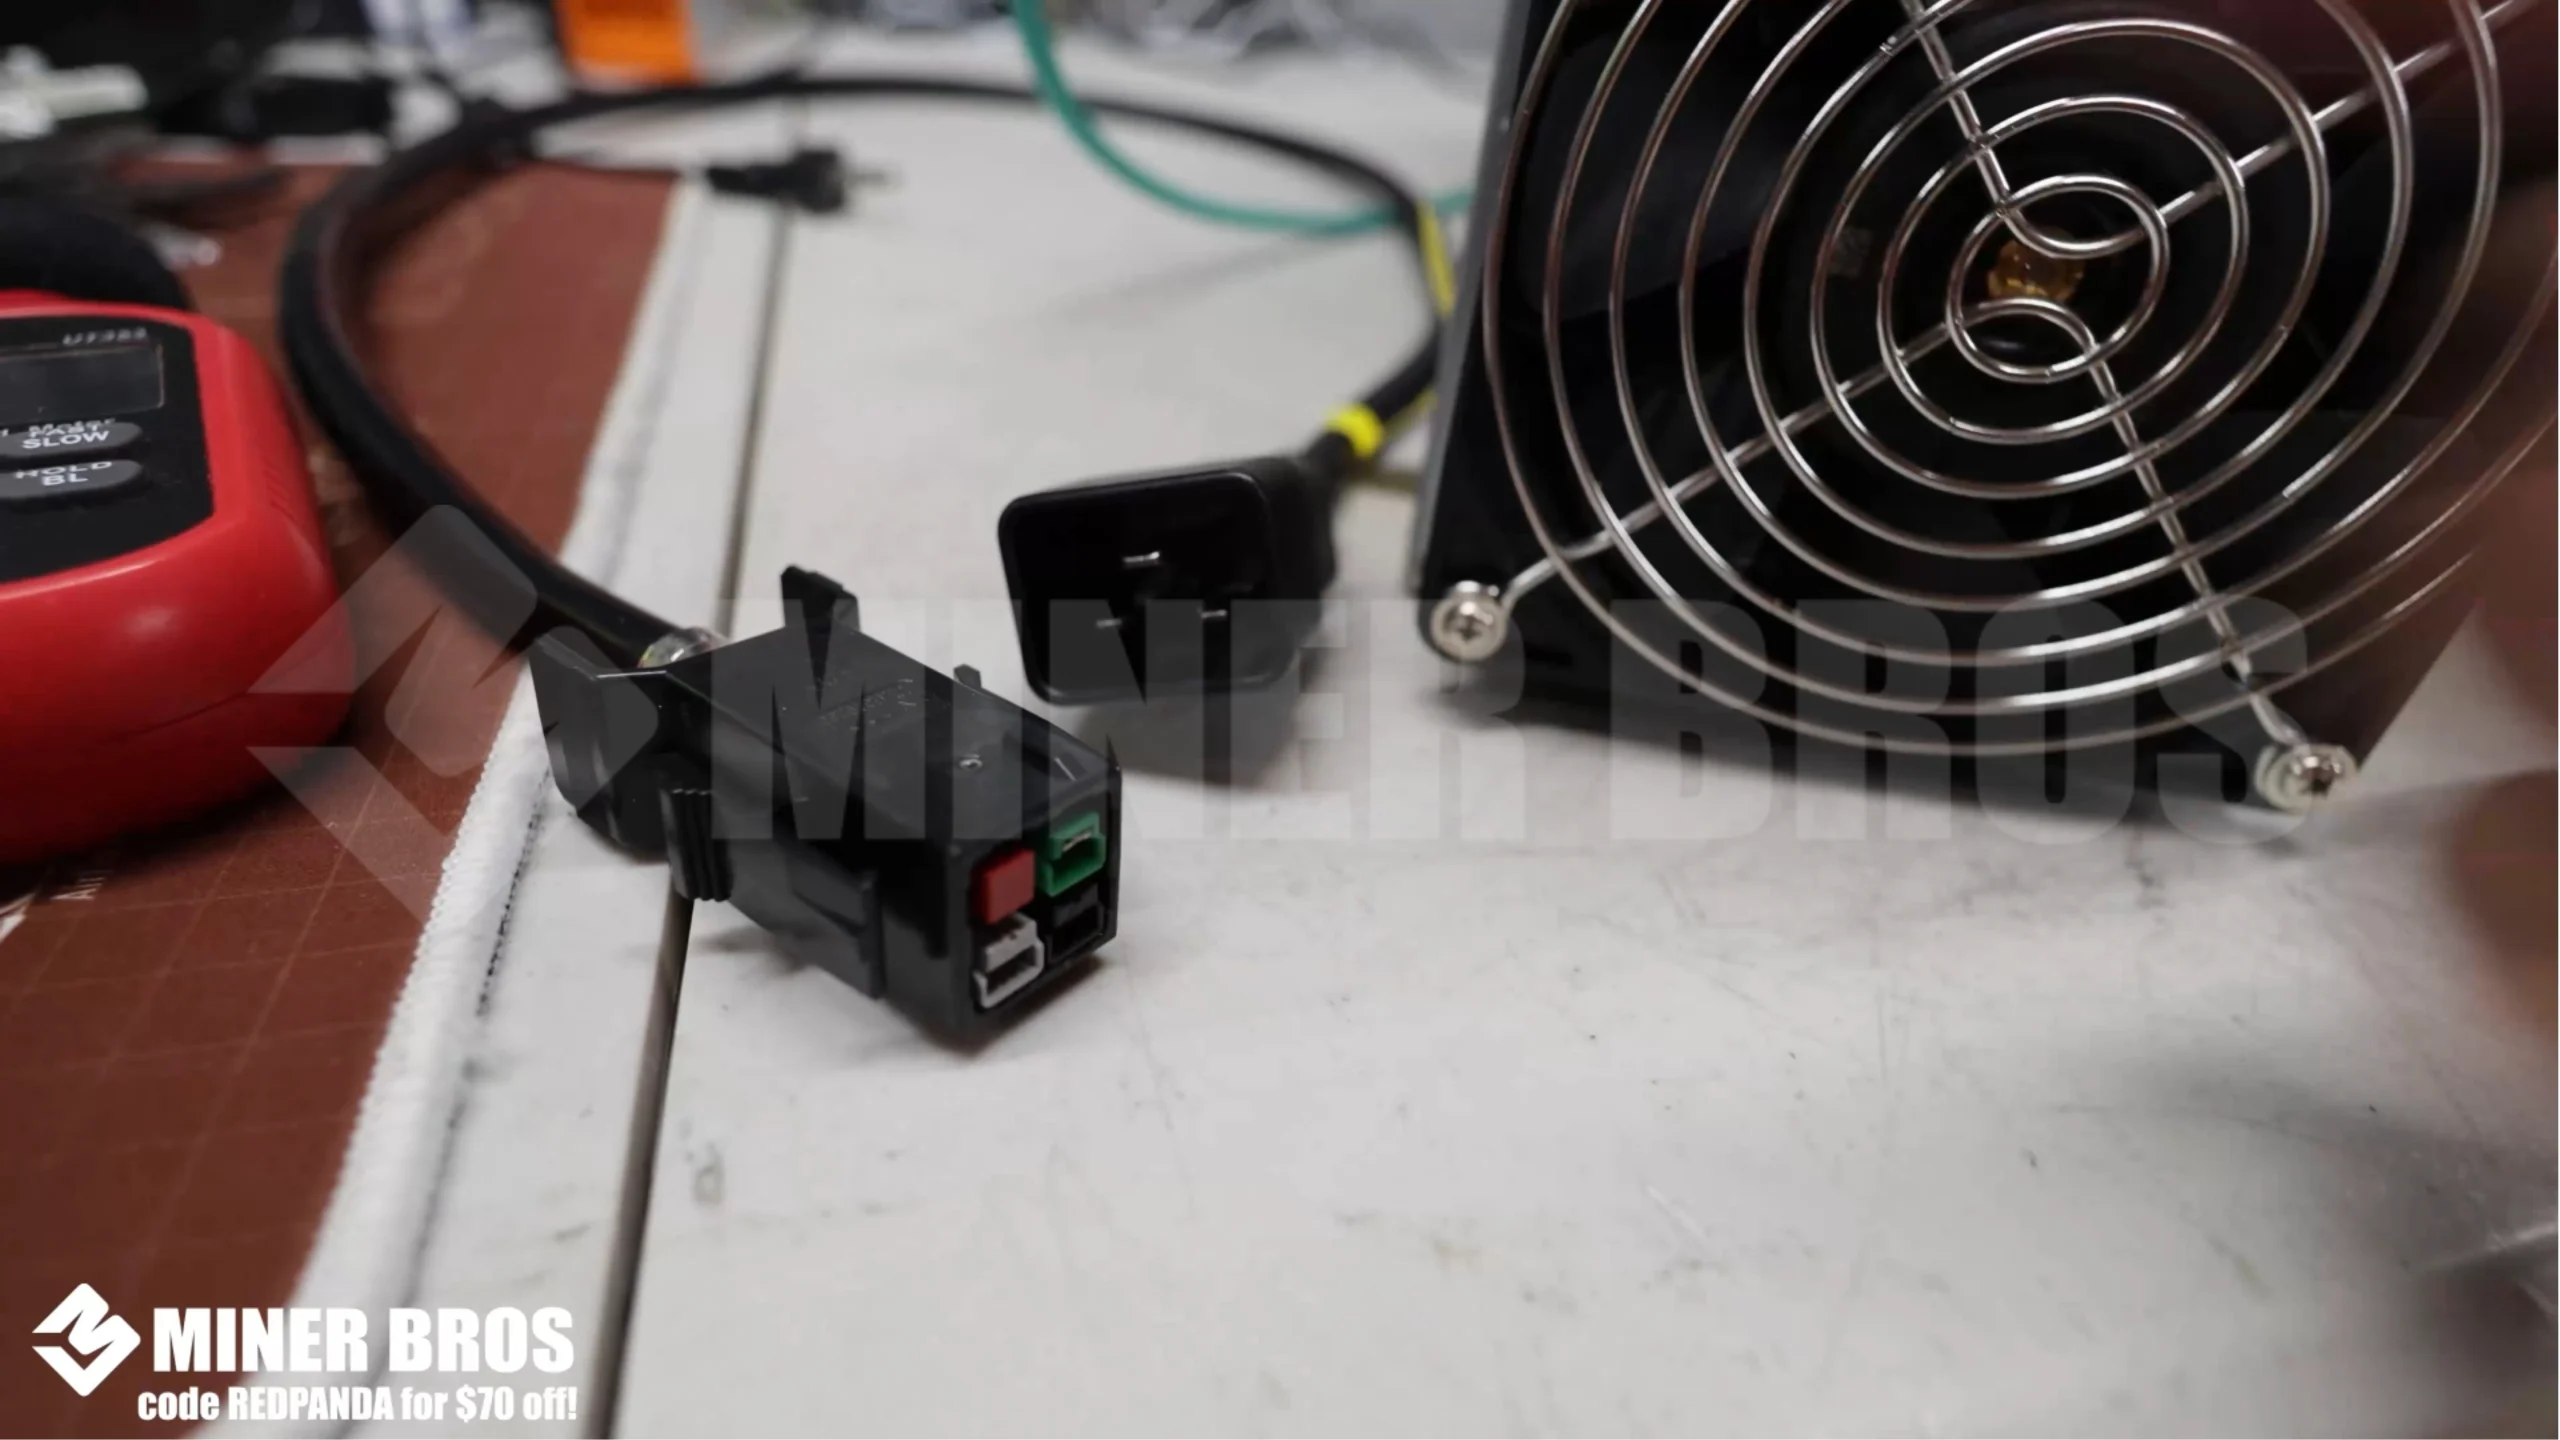
- The C20 end plugs into the DG2, while the P13 connects to your 240V 30A PDU (Power Distribution Unit).
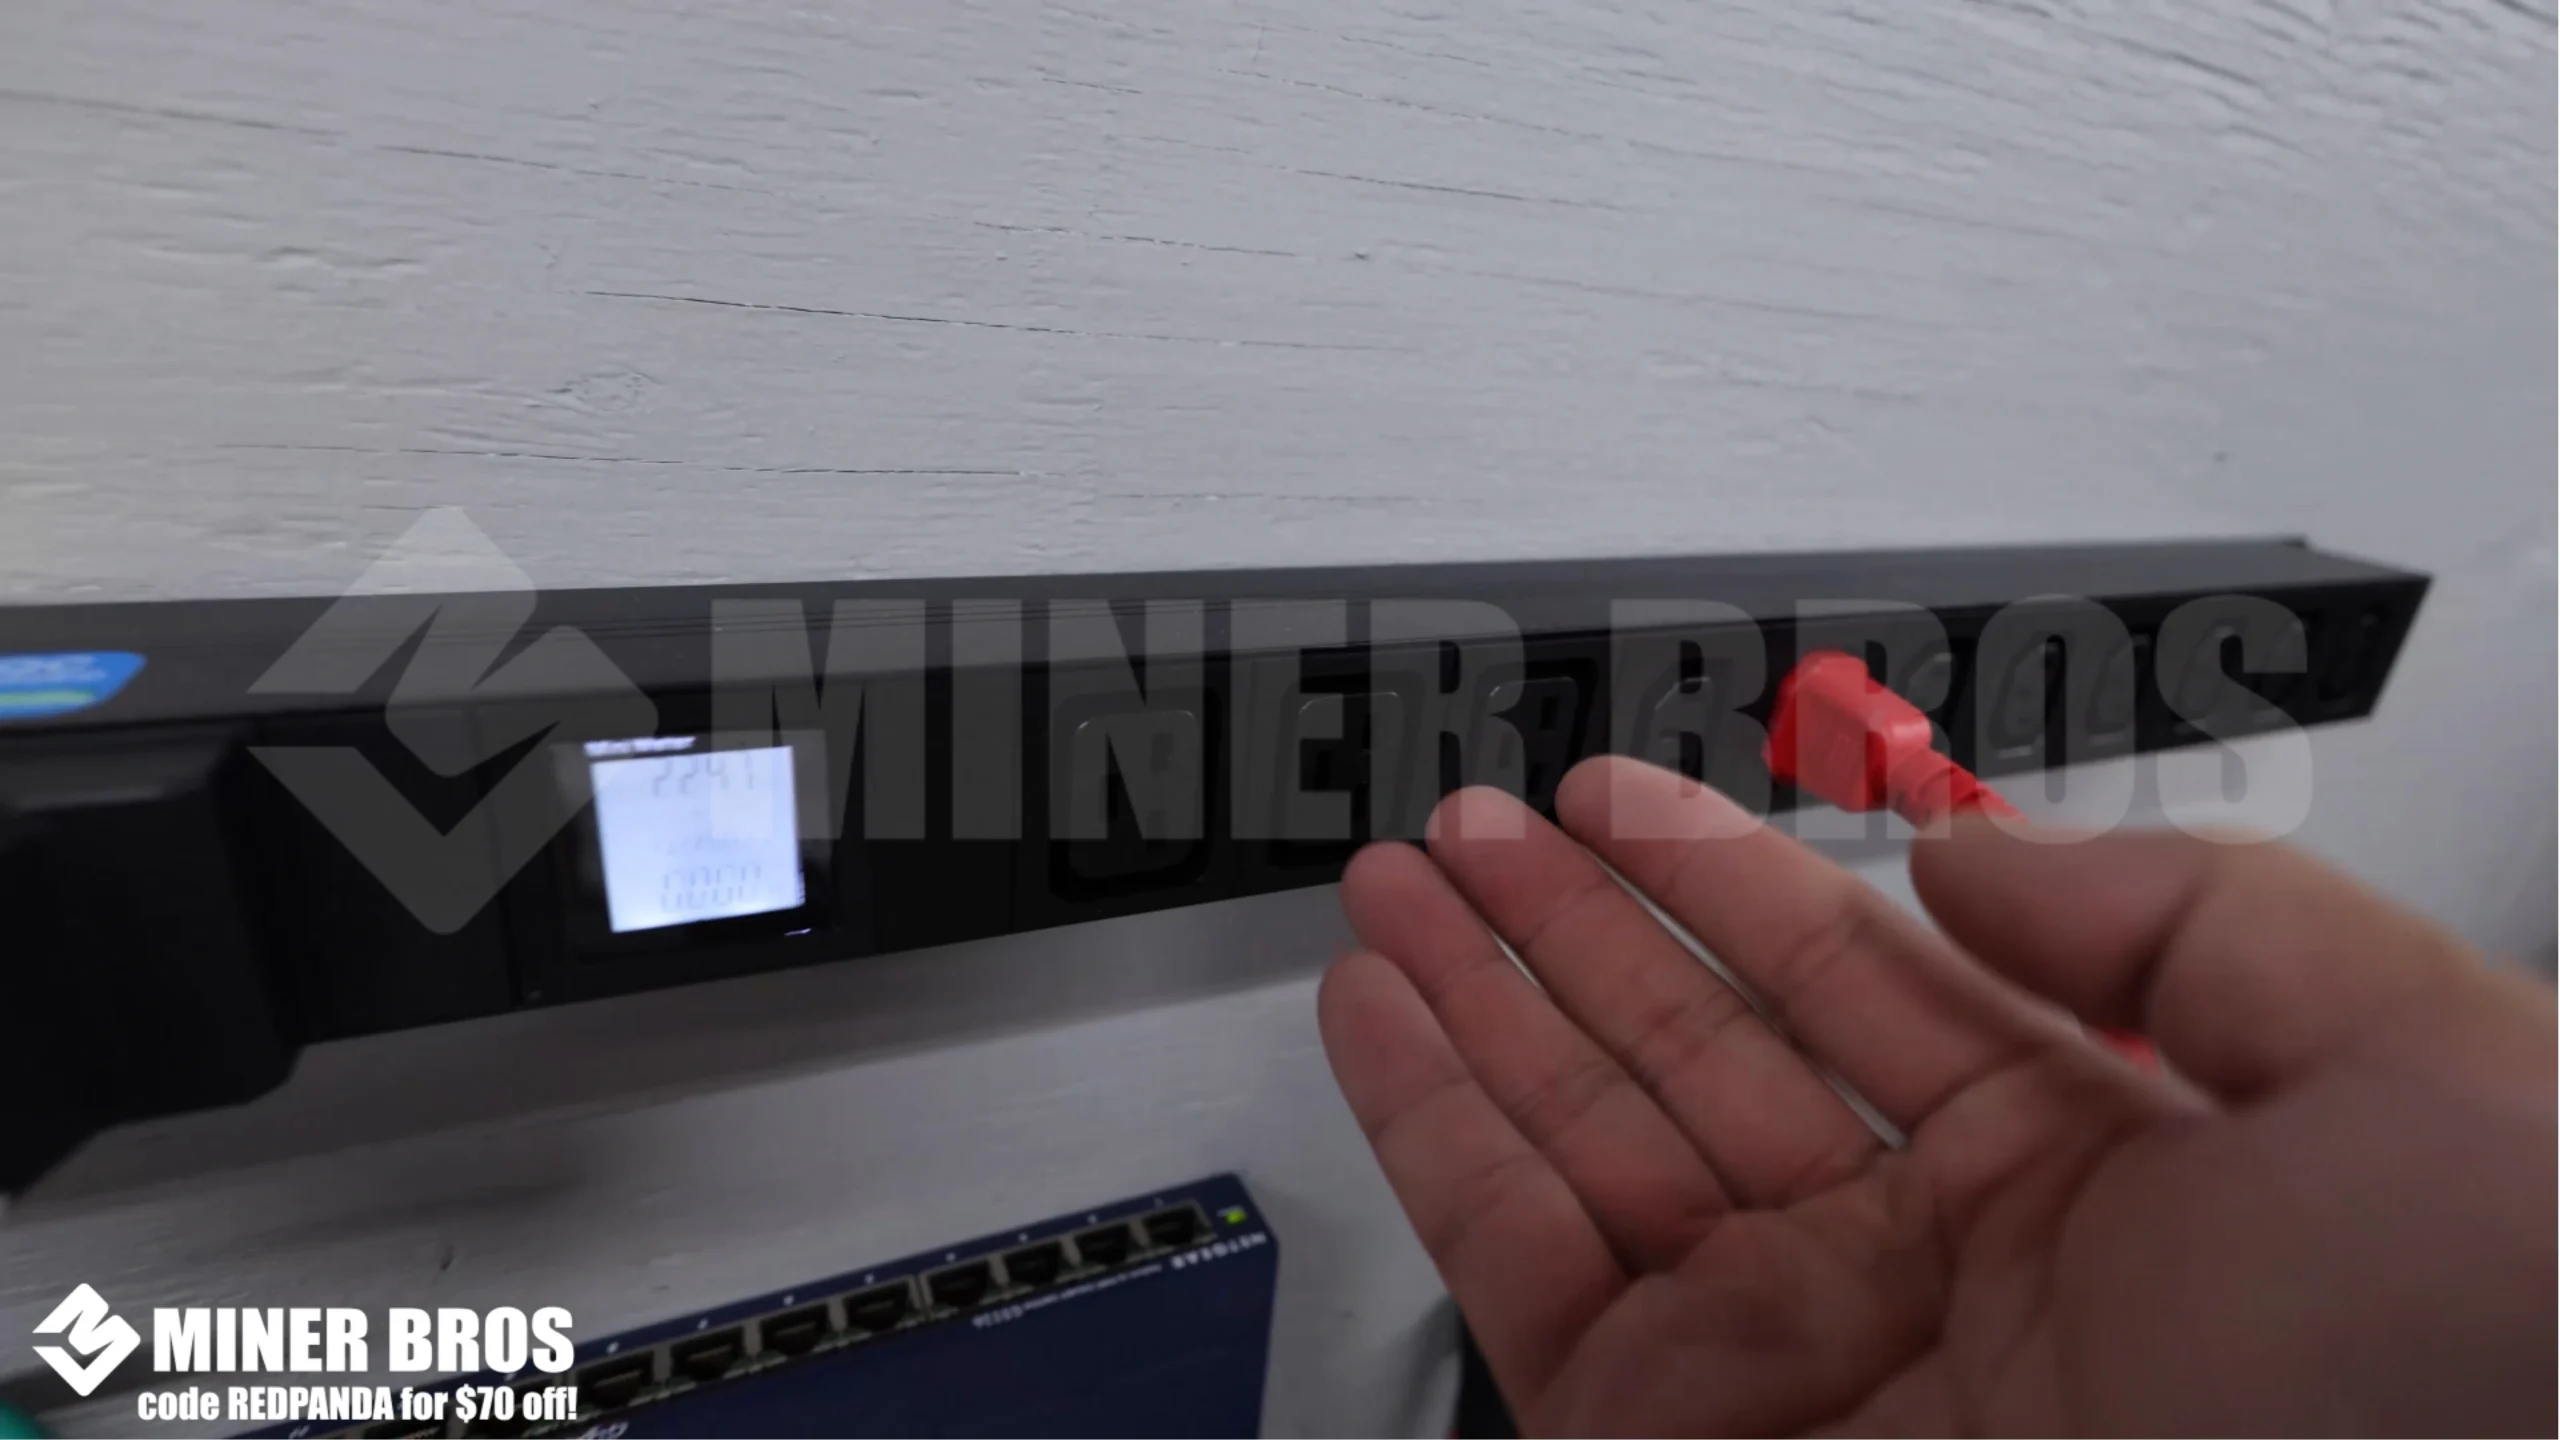
- Power Setup: Ensure your PDU is connected to a 240V 30A circuit, ideally installed by a certified electrician. The DG2 is a powerful machine and requires stable electrical infrastructure.
- Heat Management: The ElphaPex DG2 generates a lot of heat. Place it in a well-ventilated area with exhaust options to prevent overheating.
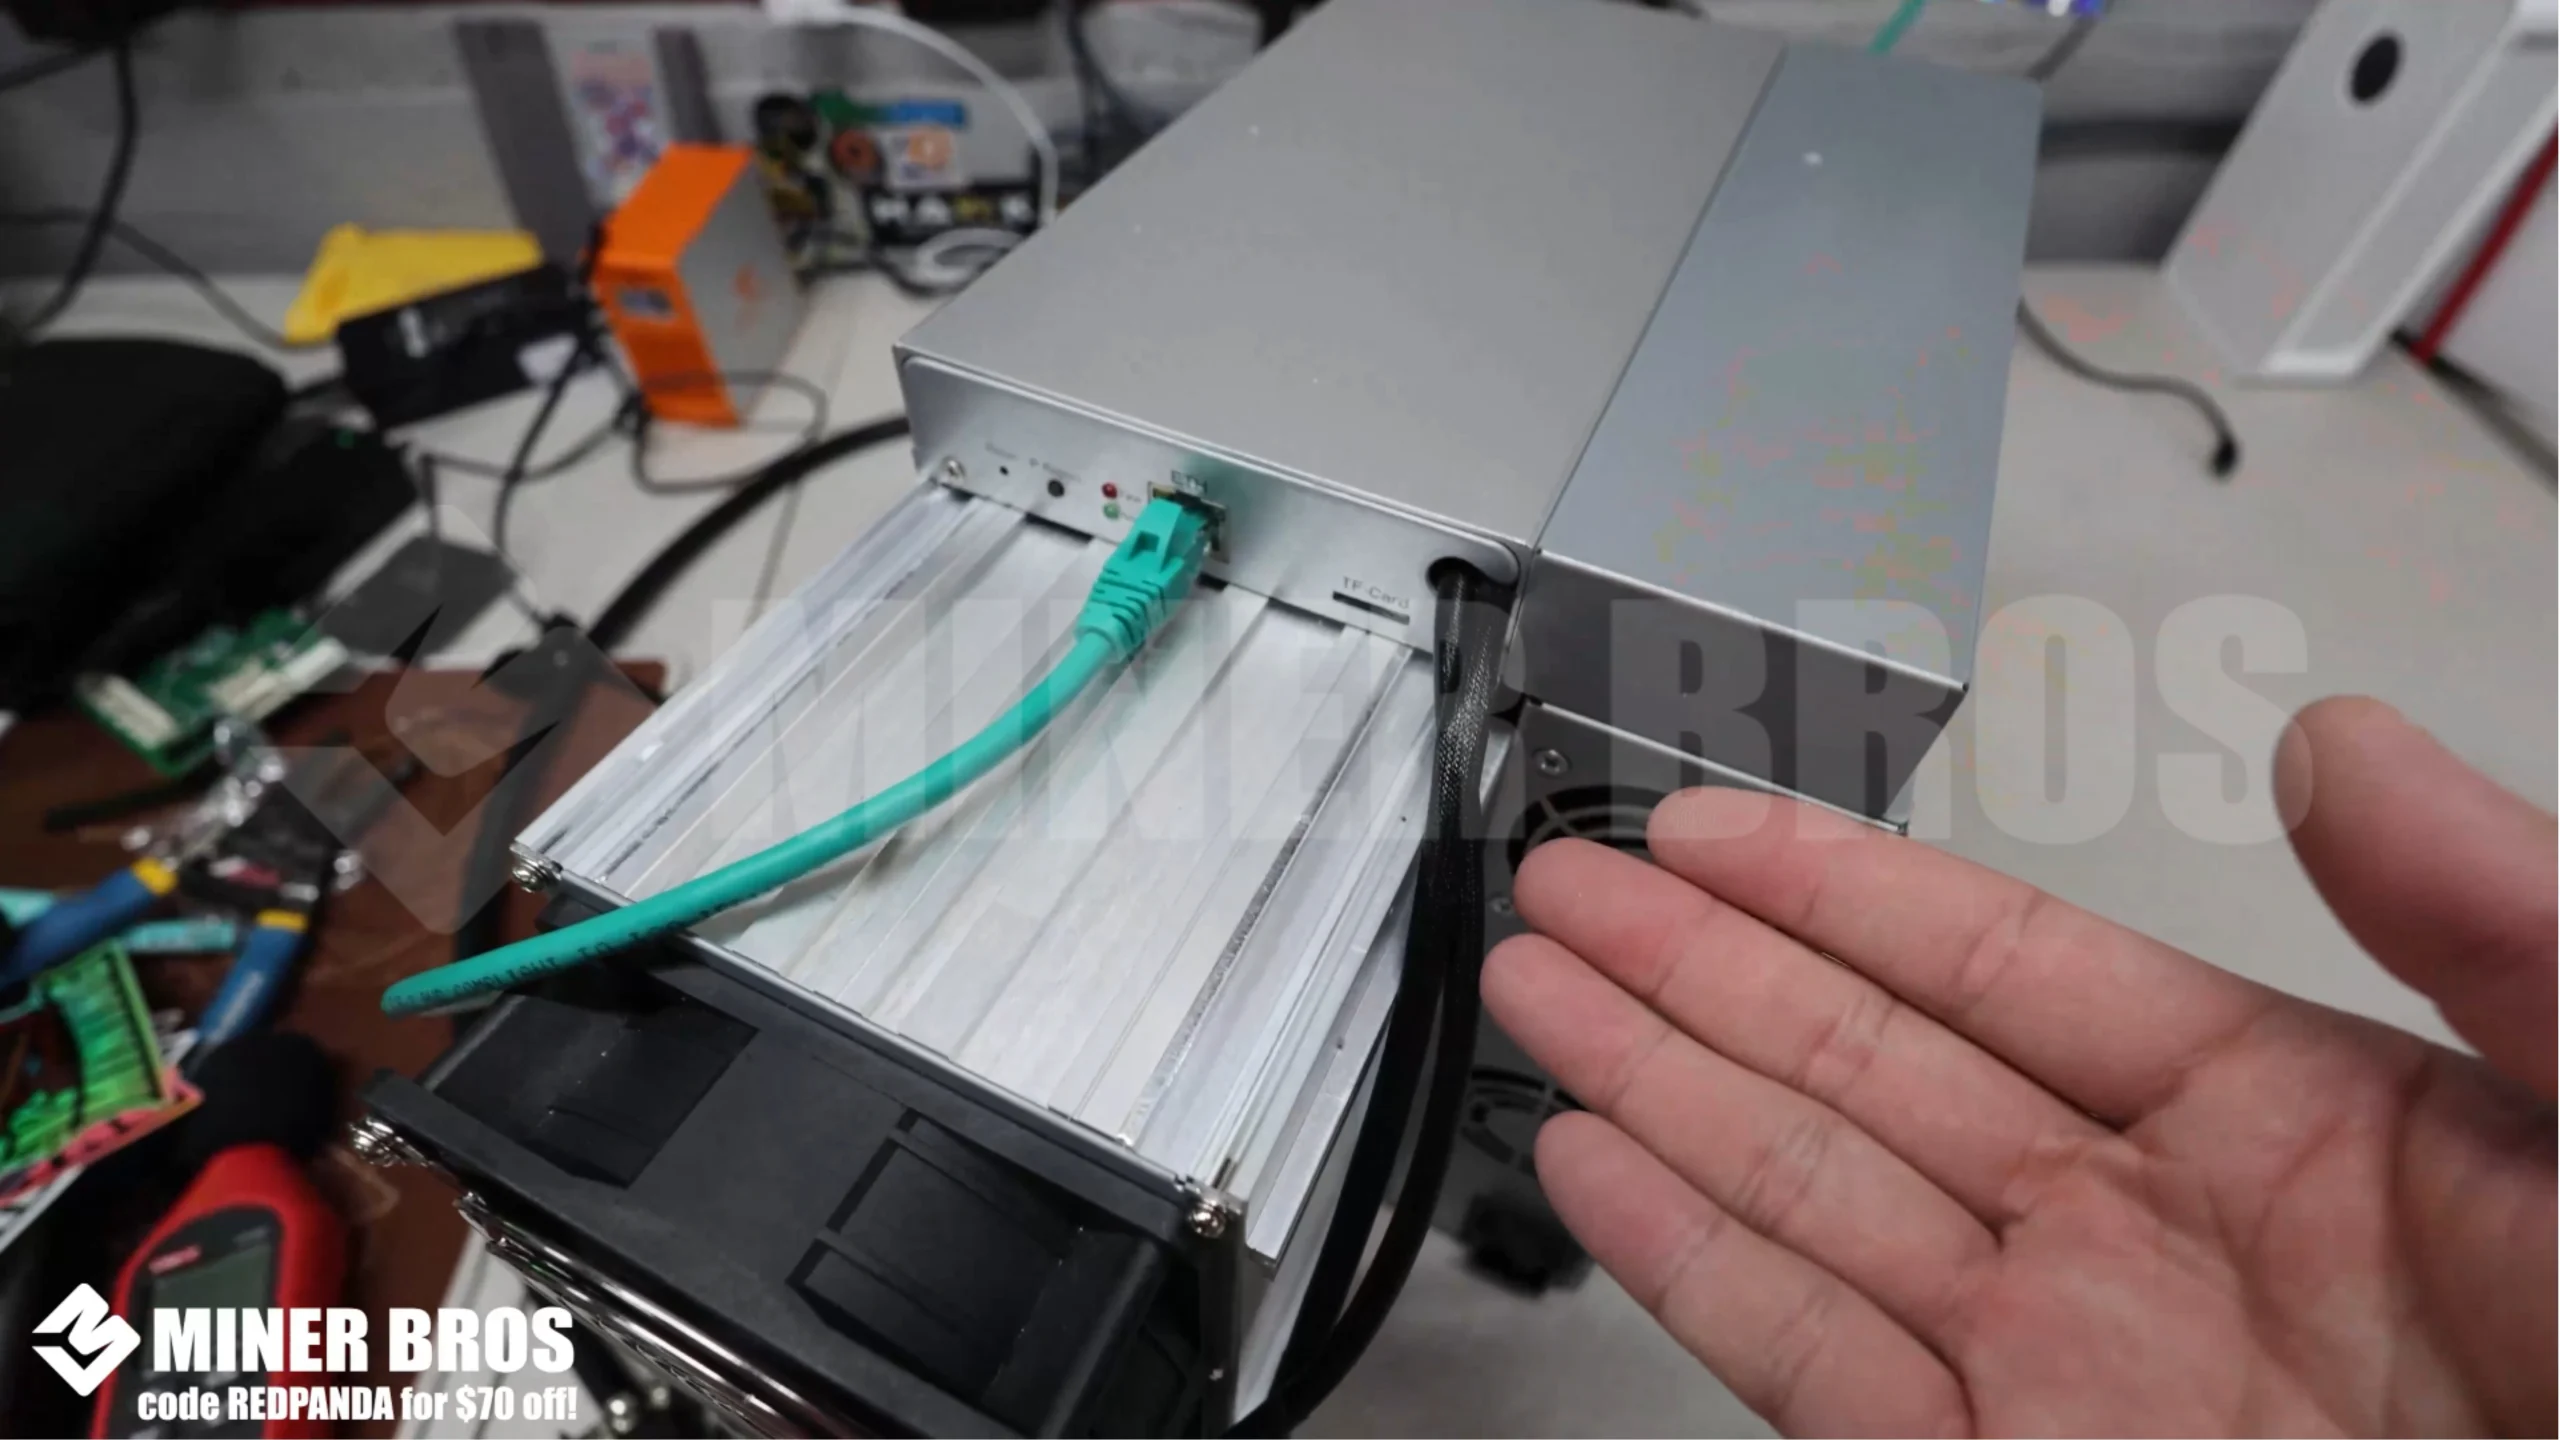
2. Configuring the ASIC
- Plug in the Ethernet cable to the DG2.
- Connect the C20 power cable to the miner.
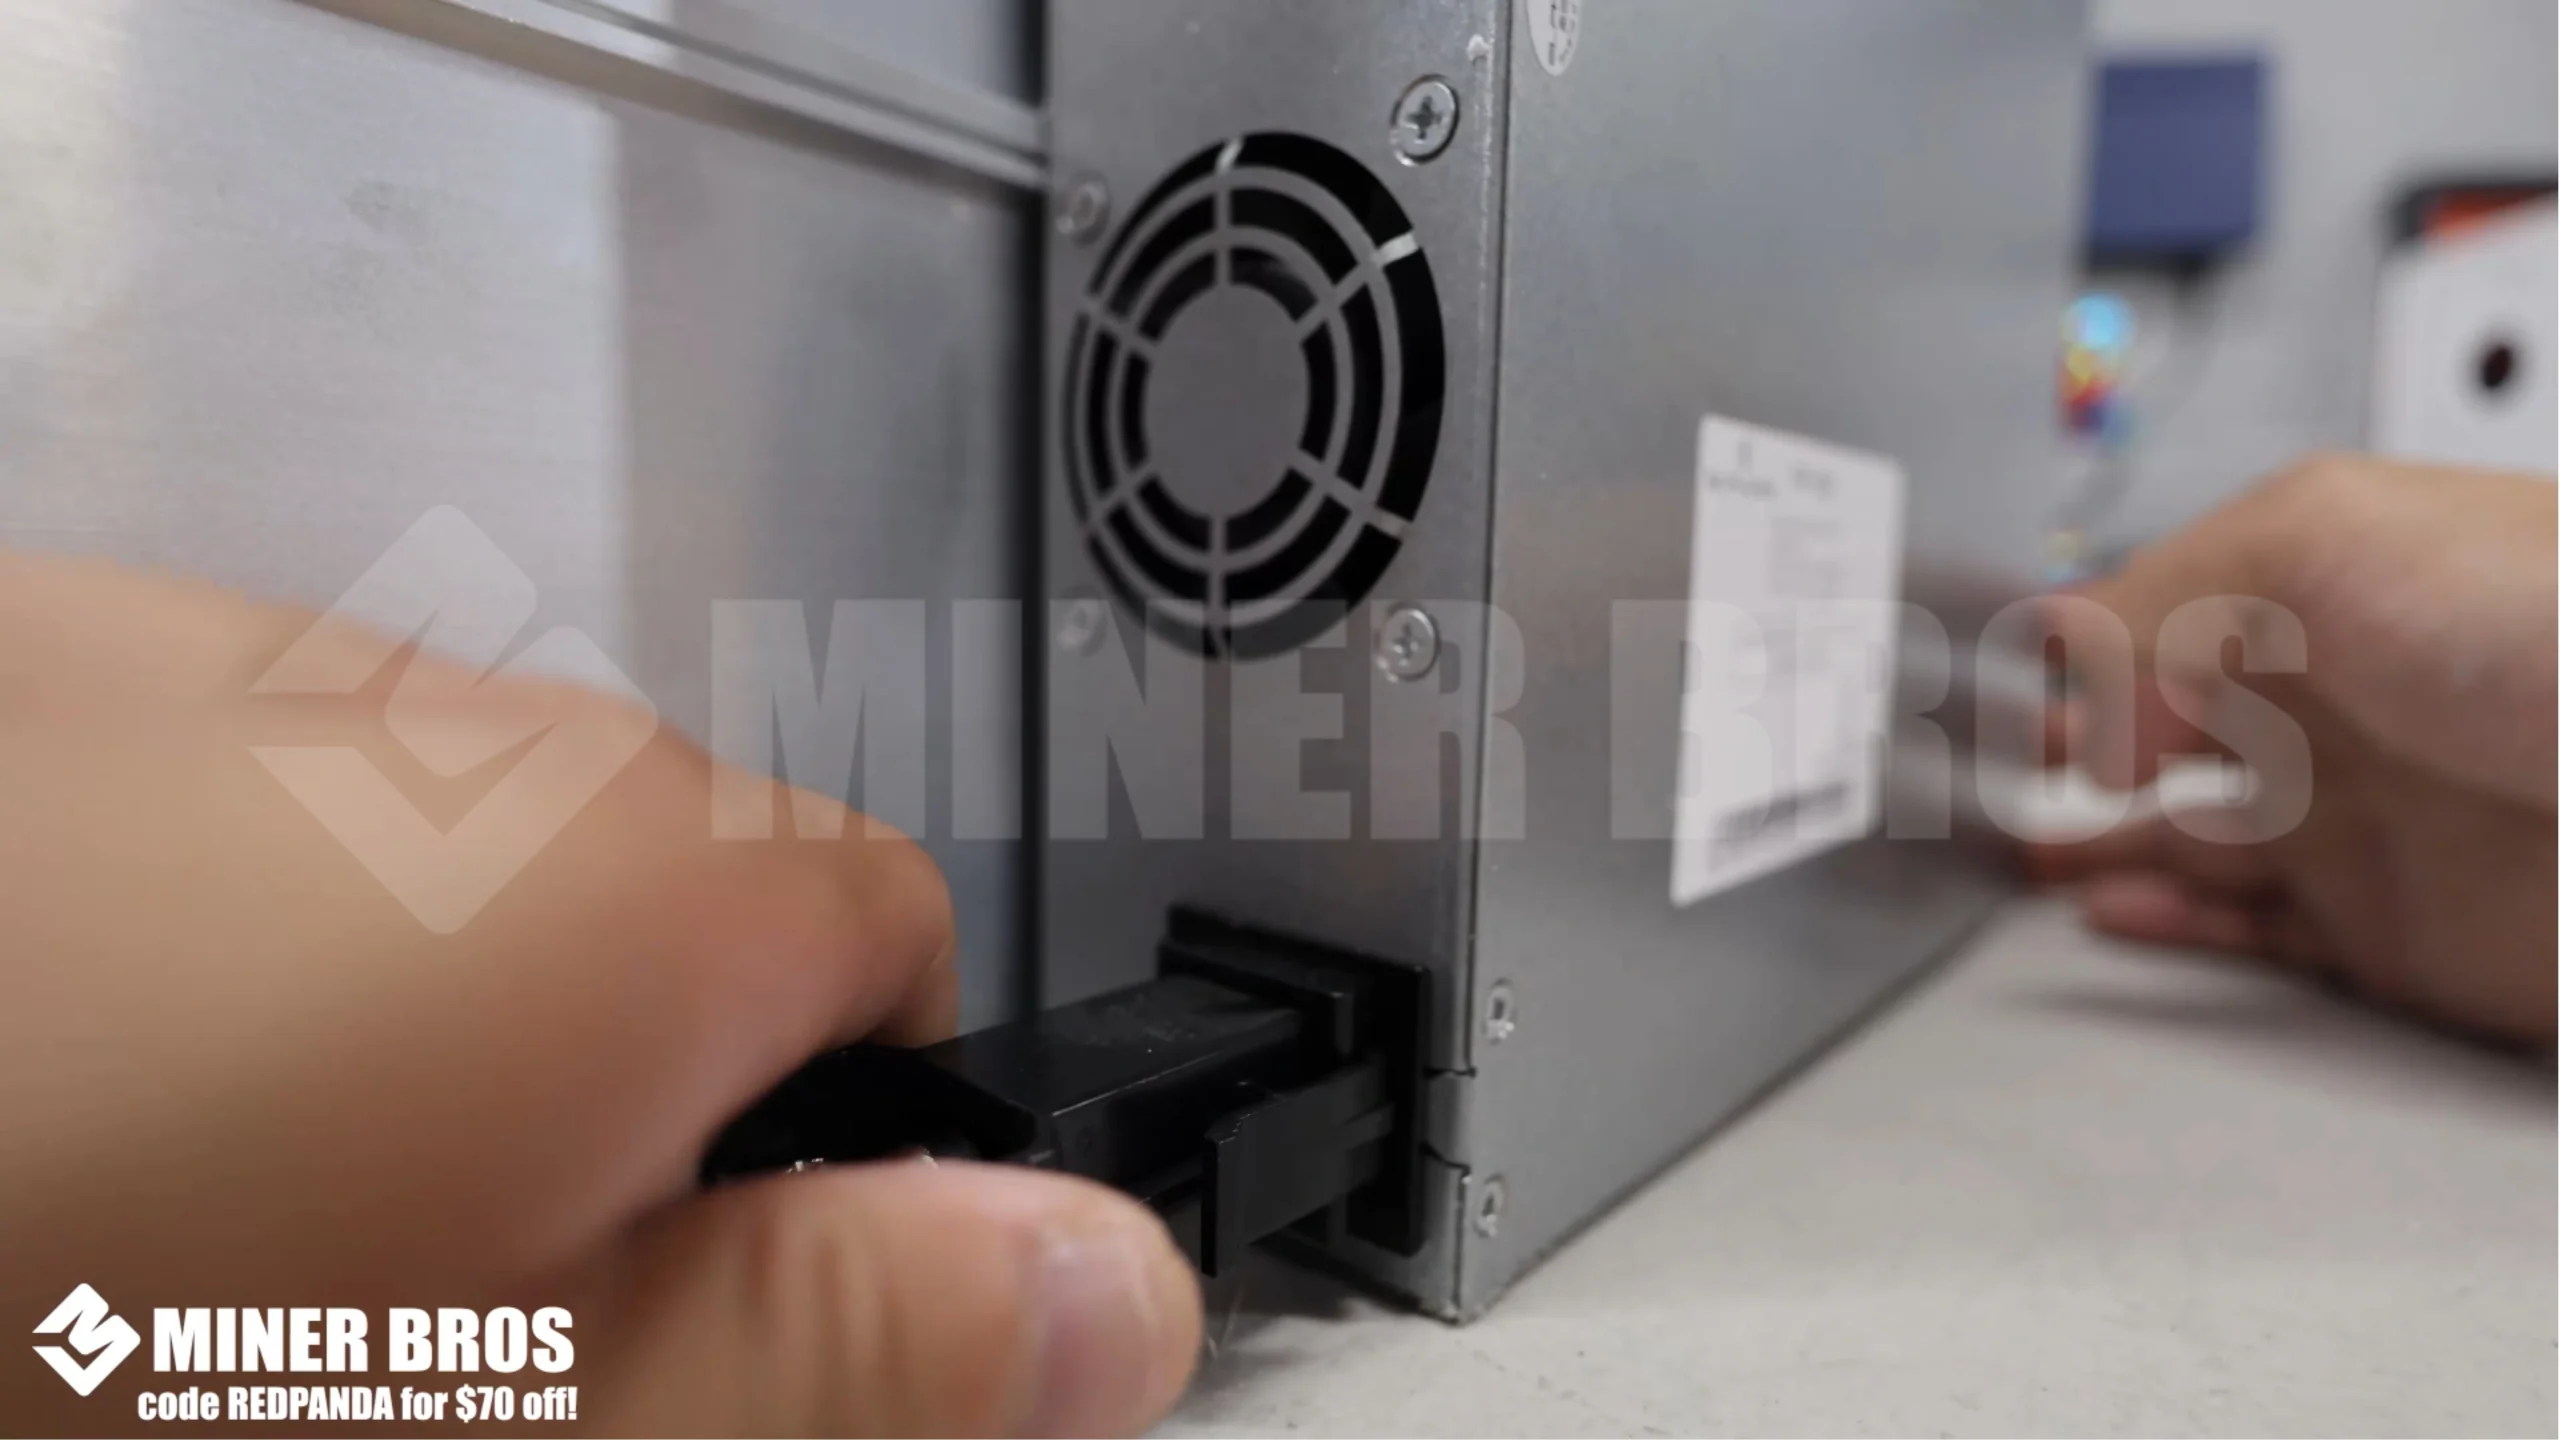
- Then plug the other end into the PDU.
- Once powered, the miner will automatically start and request an IP address from your router.
3. Accessing the ElphaPex DG2 via the Web Browser
To configure the miner, you’ll need its IP address:
- Option 1: Log into your router and check the device list.
- Option 2: Use a free tool like Advanced IP Scanner (Windows) to scan your network. It will show the connected devices and their IPs.
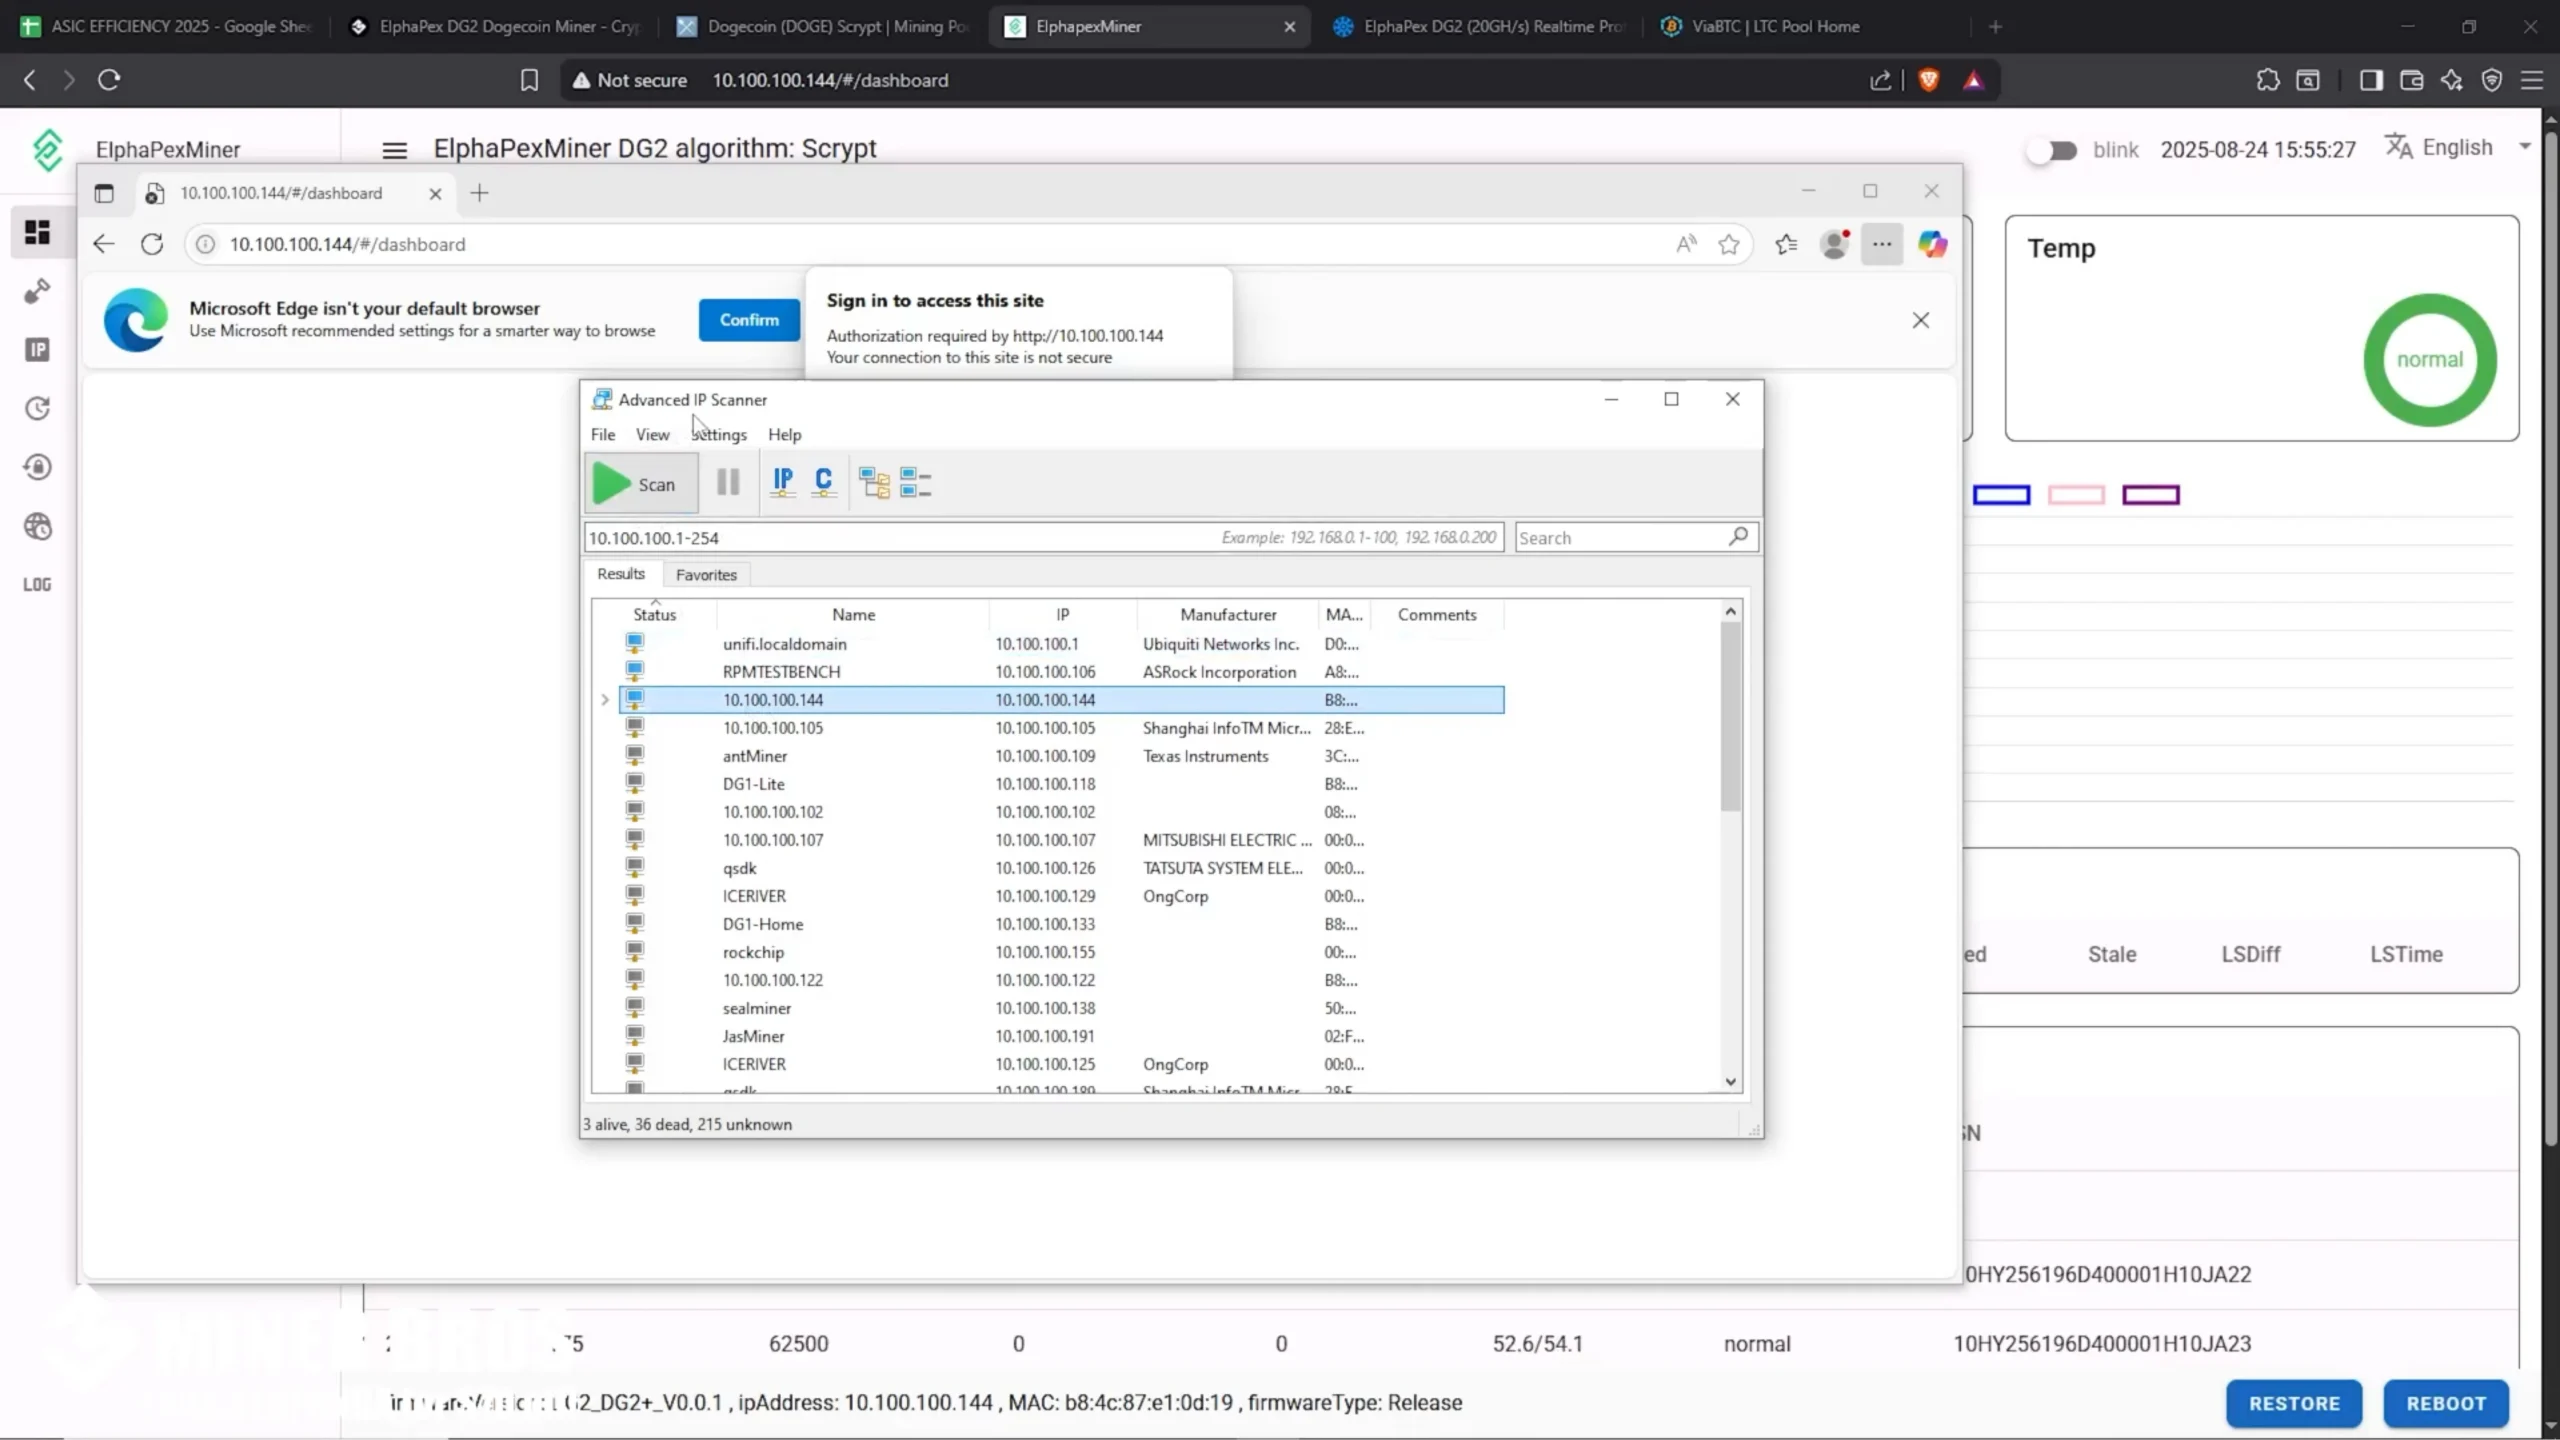
Once you have the IP, enter it into your web browser. You’ll be prompted to log in.
- Username: root
- Password: root
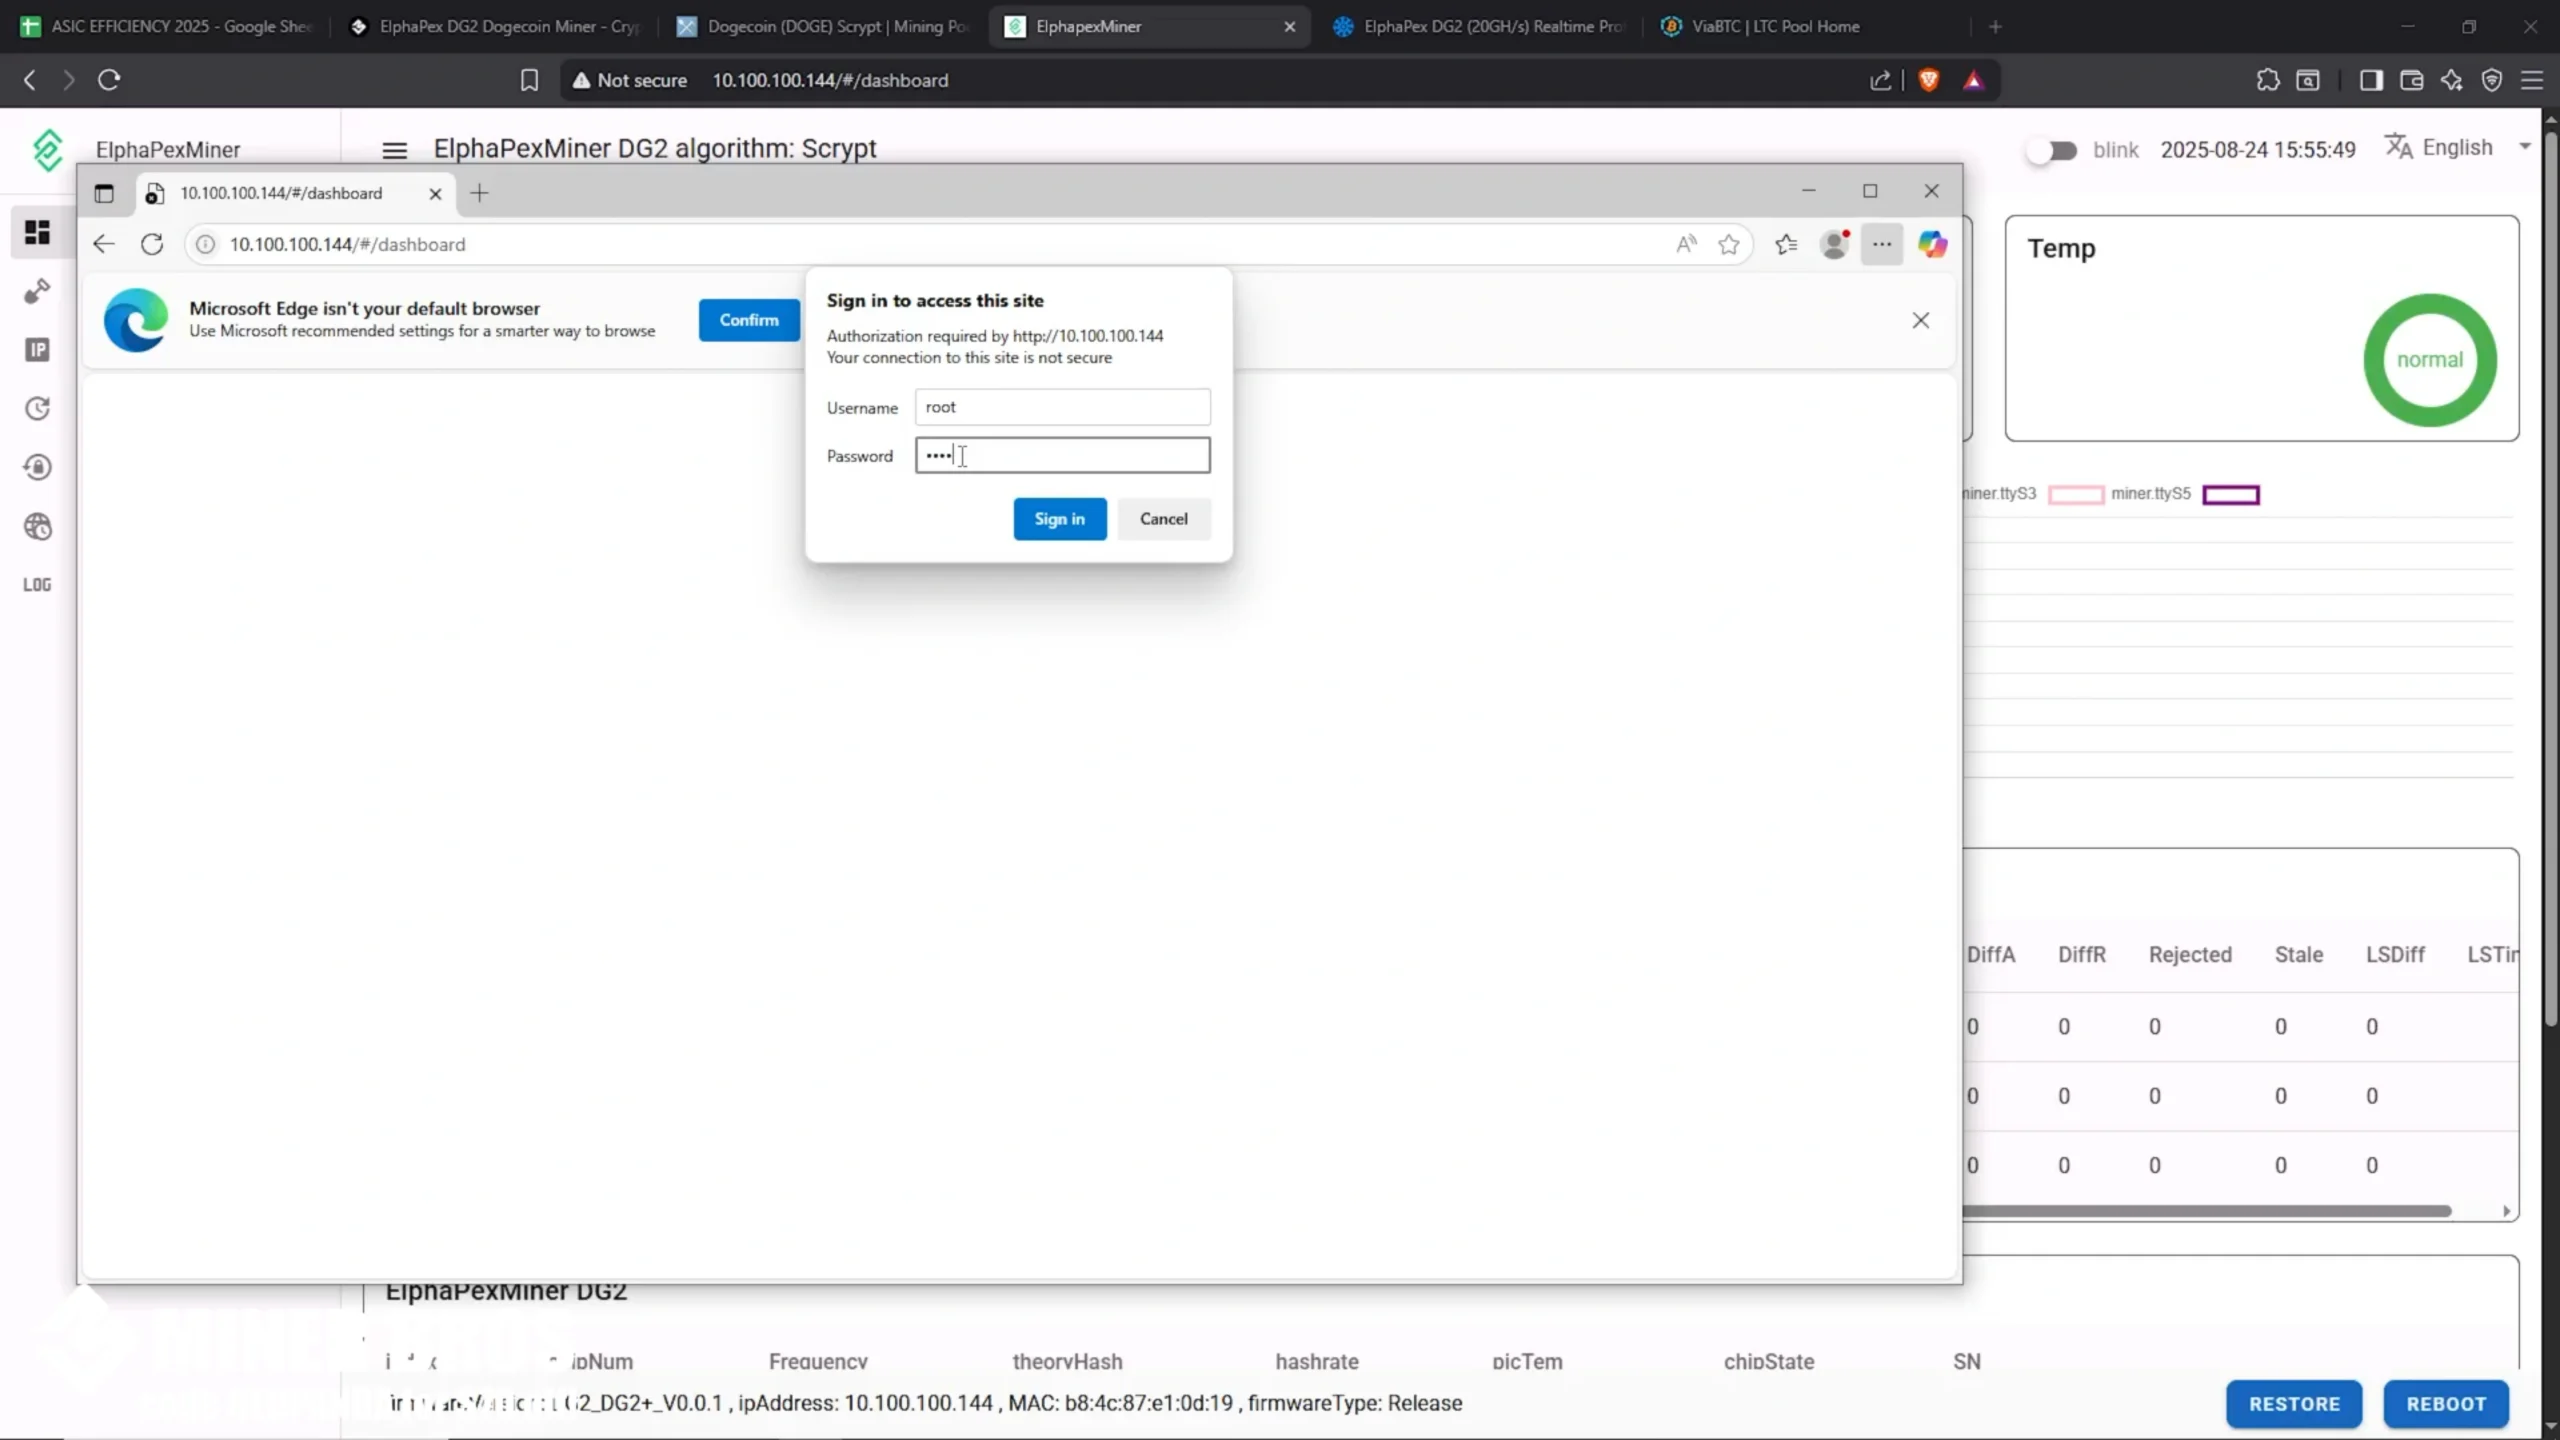
- This will take you to the DG2’s web GUI (dashboard).

4. Adding the Mining Pool
Now it’s time to configure your mining pool:
- Go to the pool settings section in the web GUI.

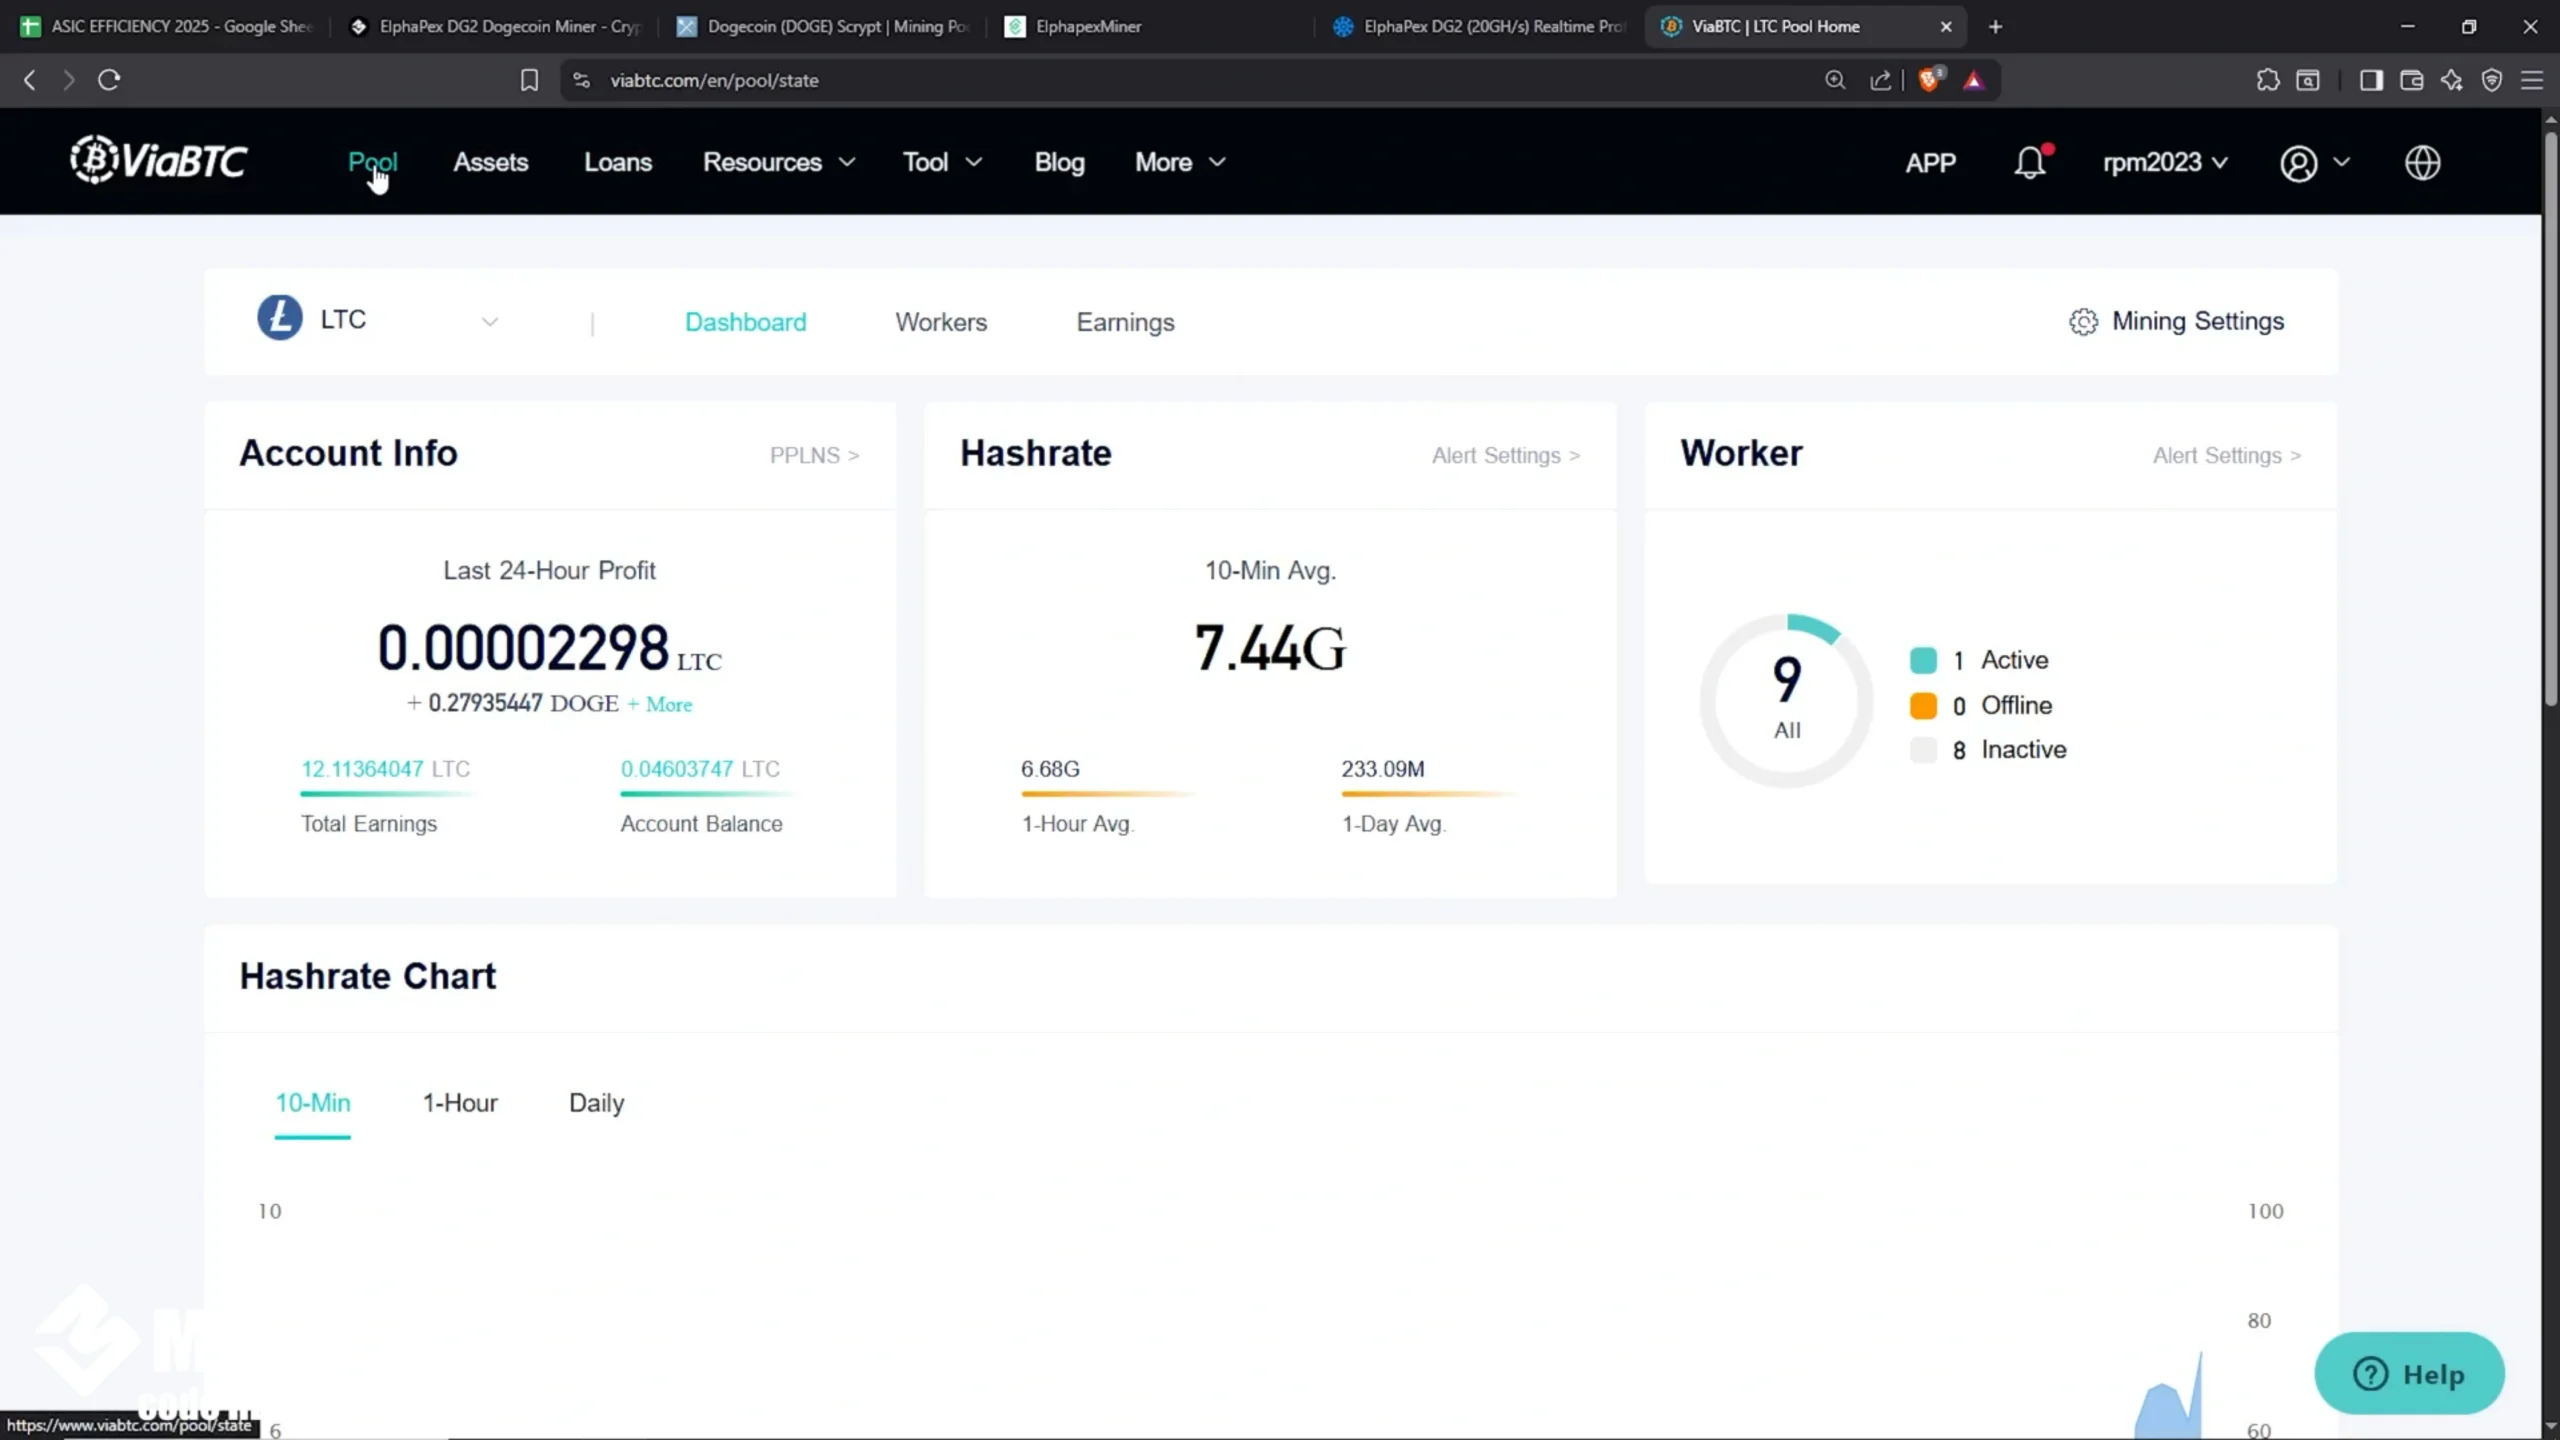
- For this guide, we’ll use ViaBTC as the example. Create an account on their website.
- Copy the Litecoin (LTC) stratum URL from ViaBTC.
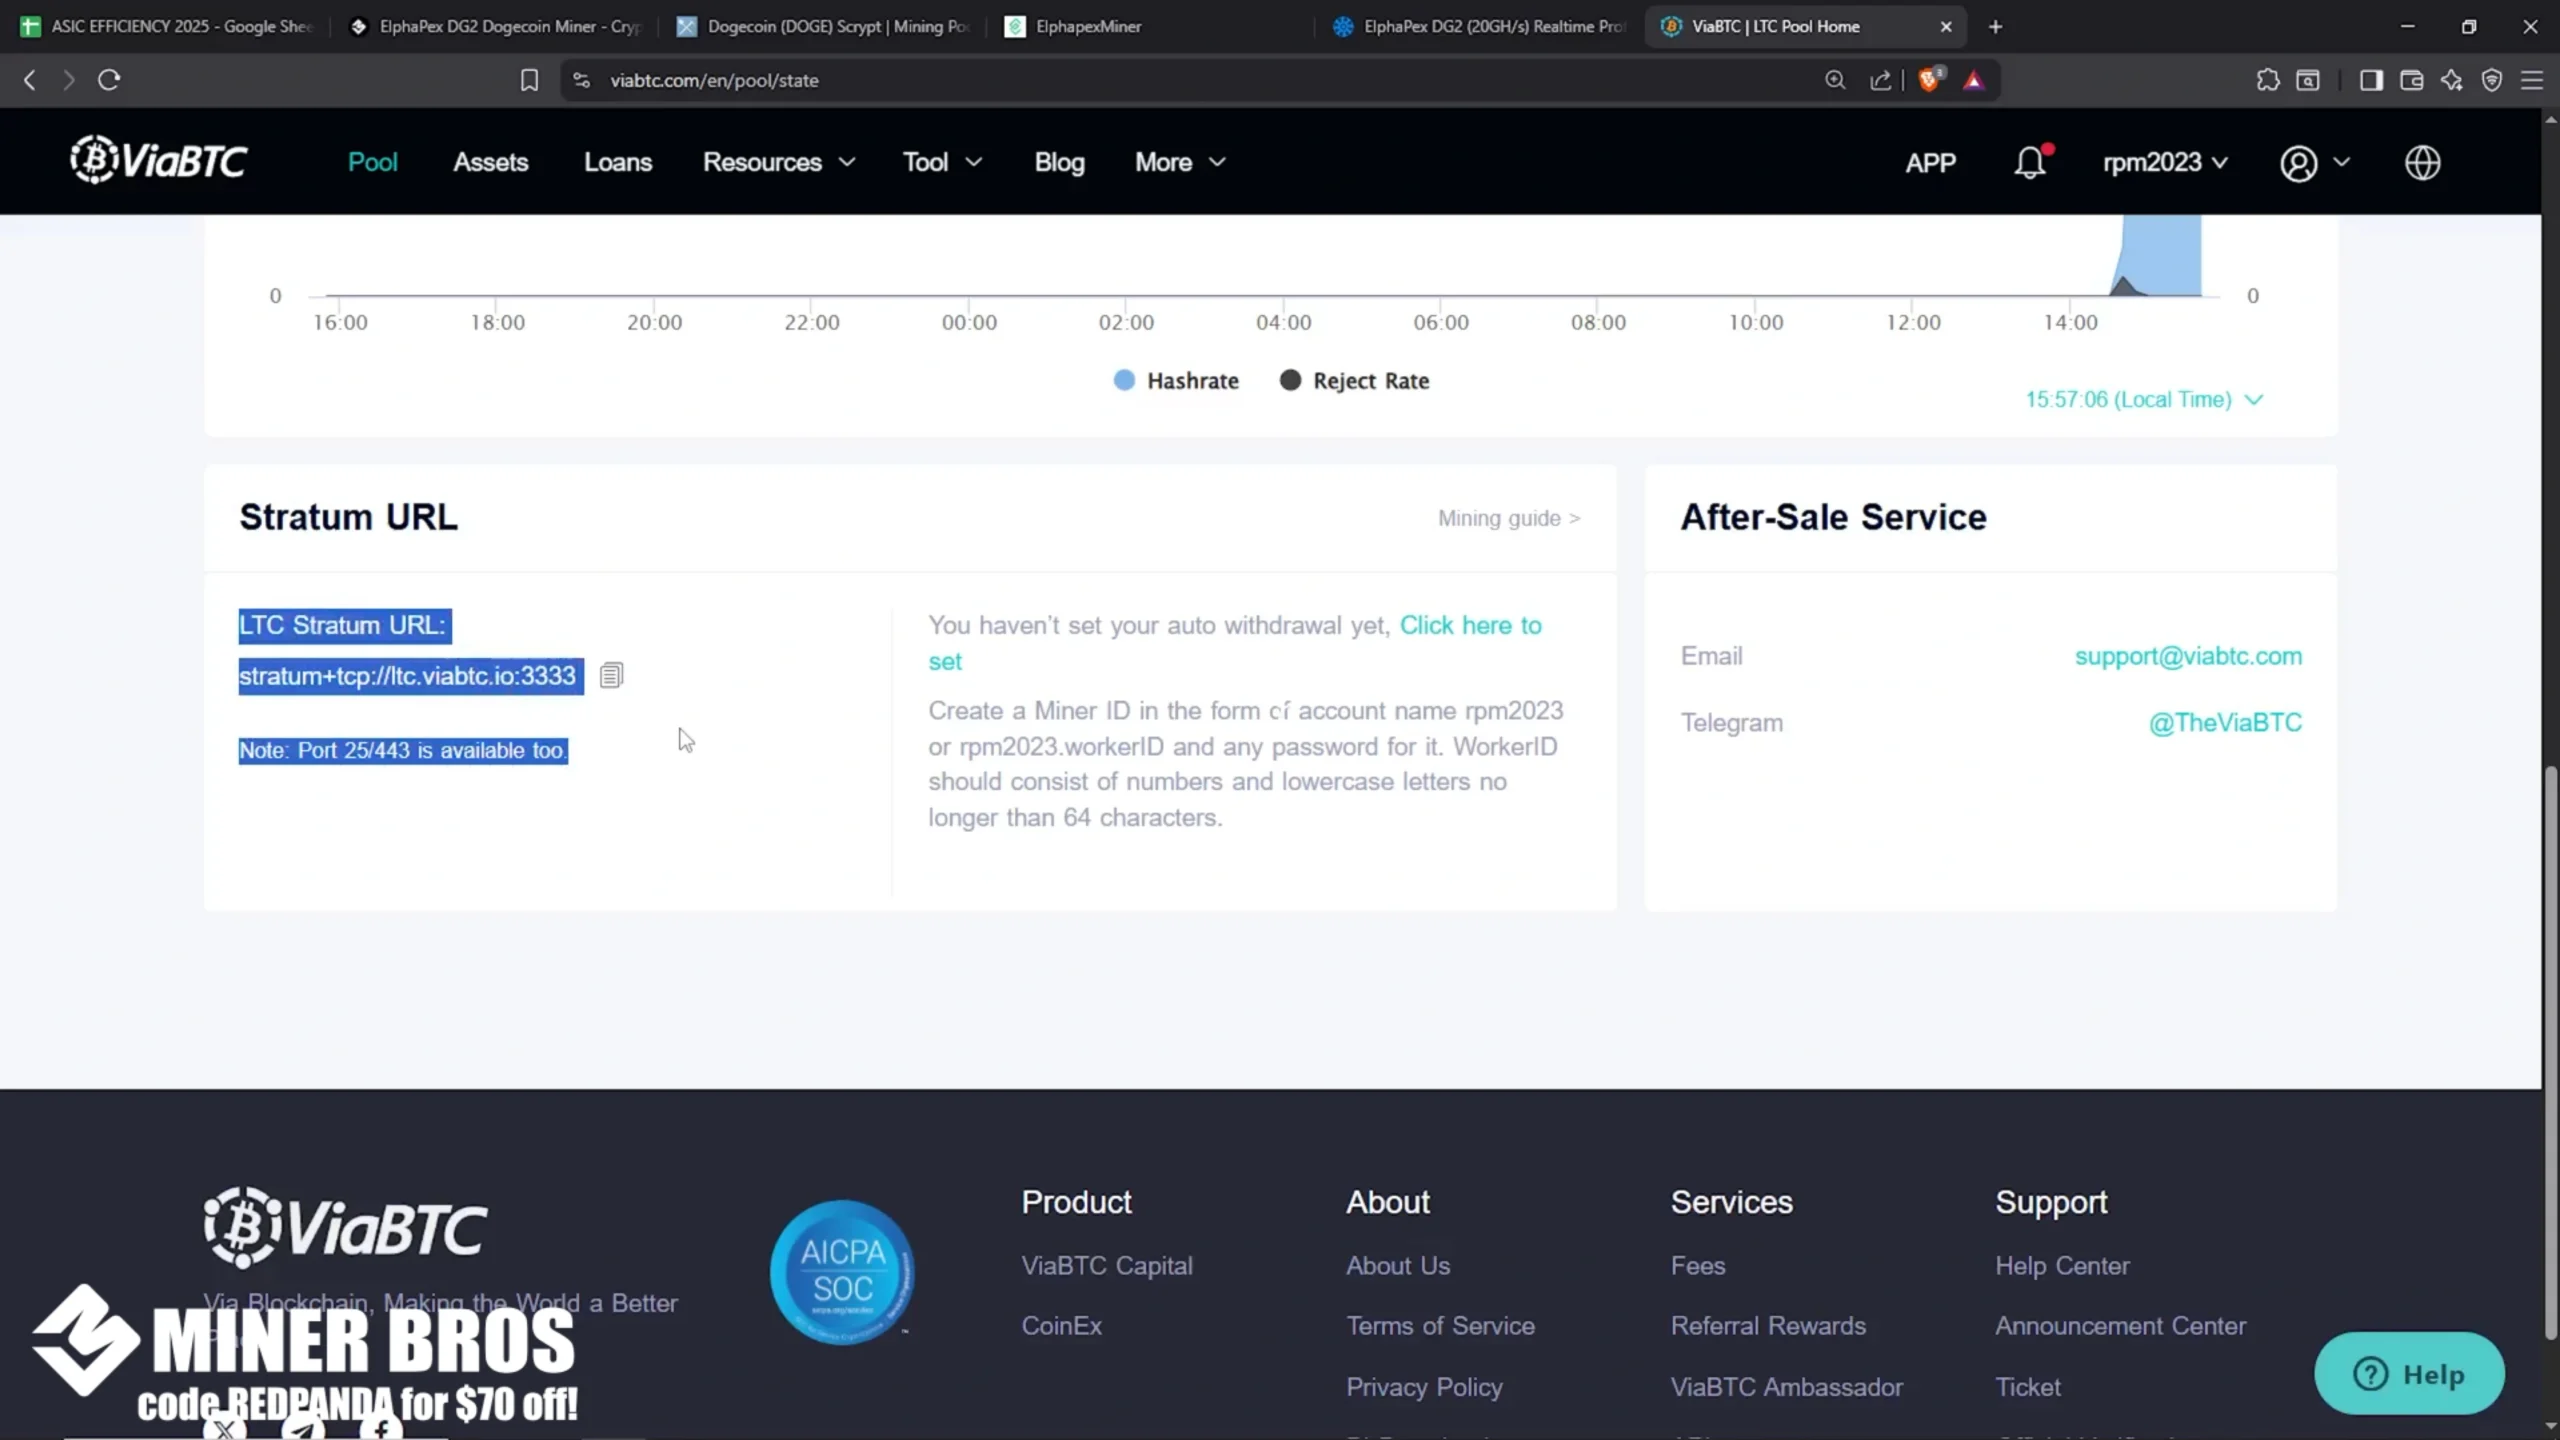
- In the web GUI:
~ Paste the stratum URL into the Pool 1 field.

~ For backup pools, use the same URL but change the ports to 25 and 443.

- In the worker name field, enter your ViaBTC account name followed by a dot and worker ID. Example: YourUserName.DG2
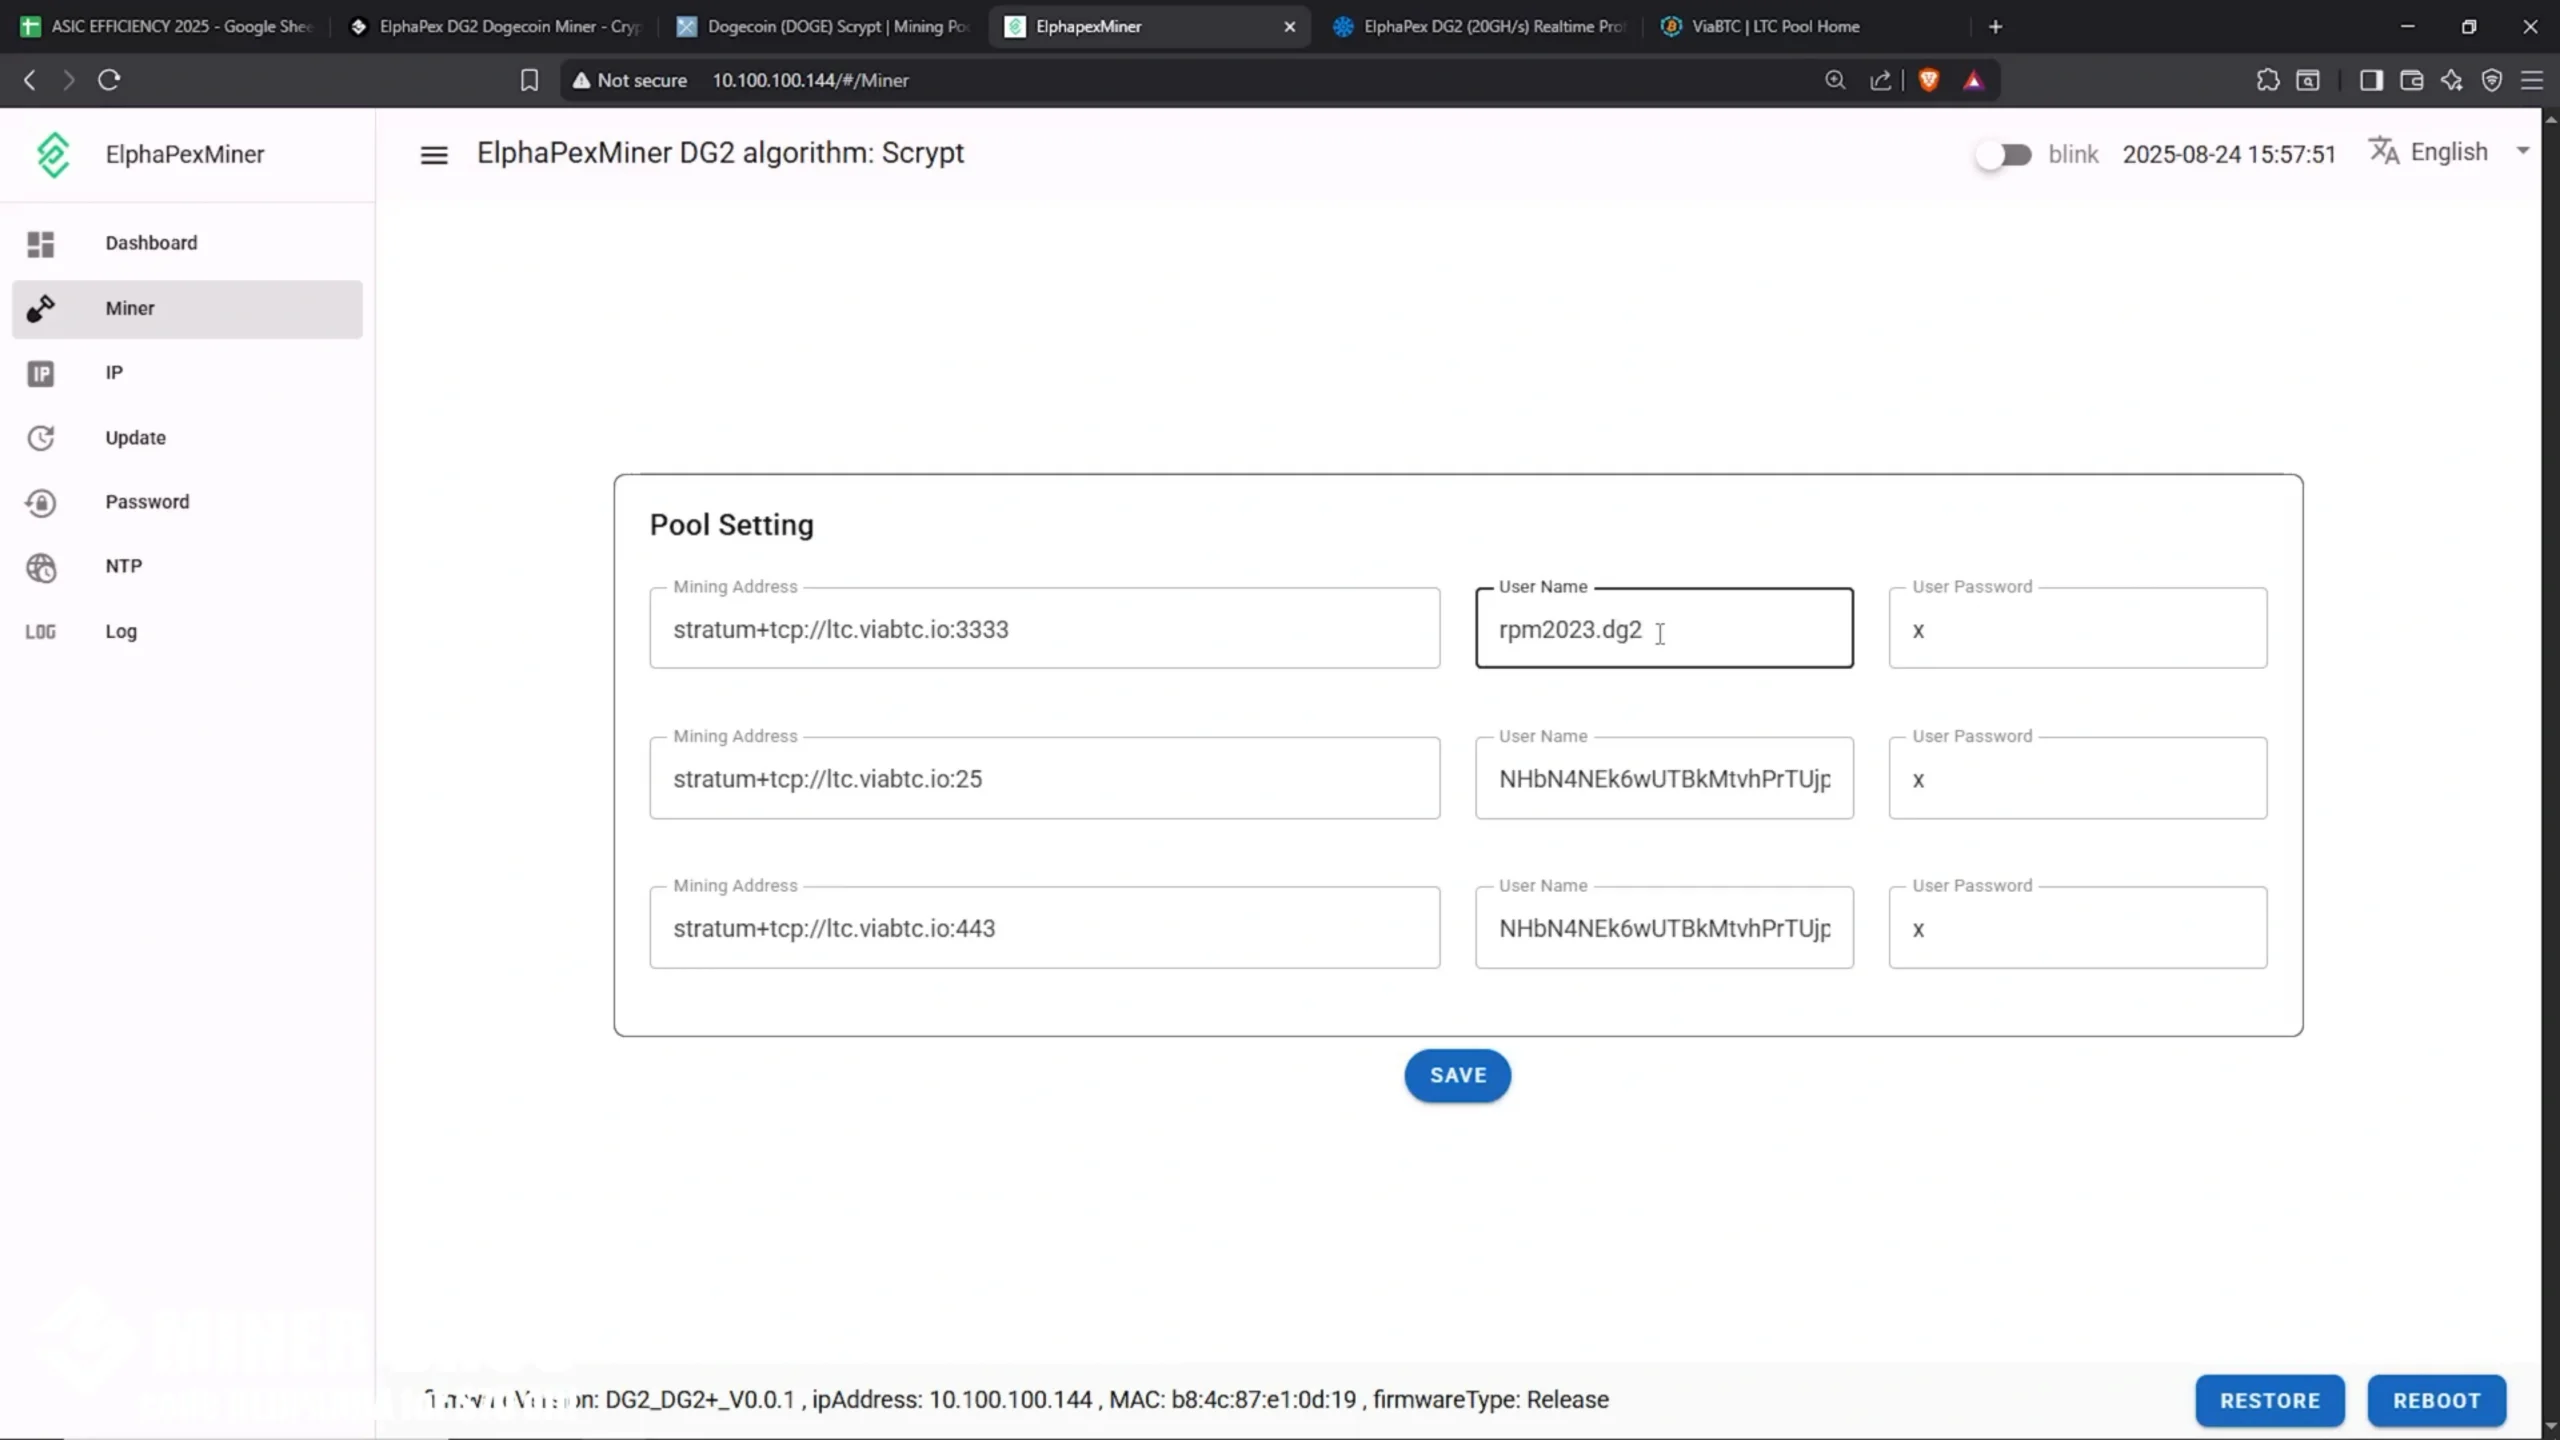
- Enter the same worker name for all three pool fields.
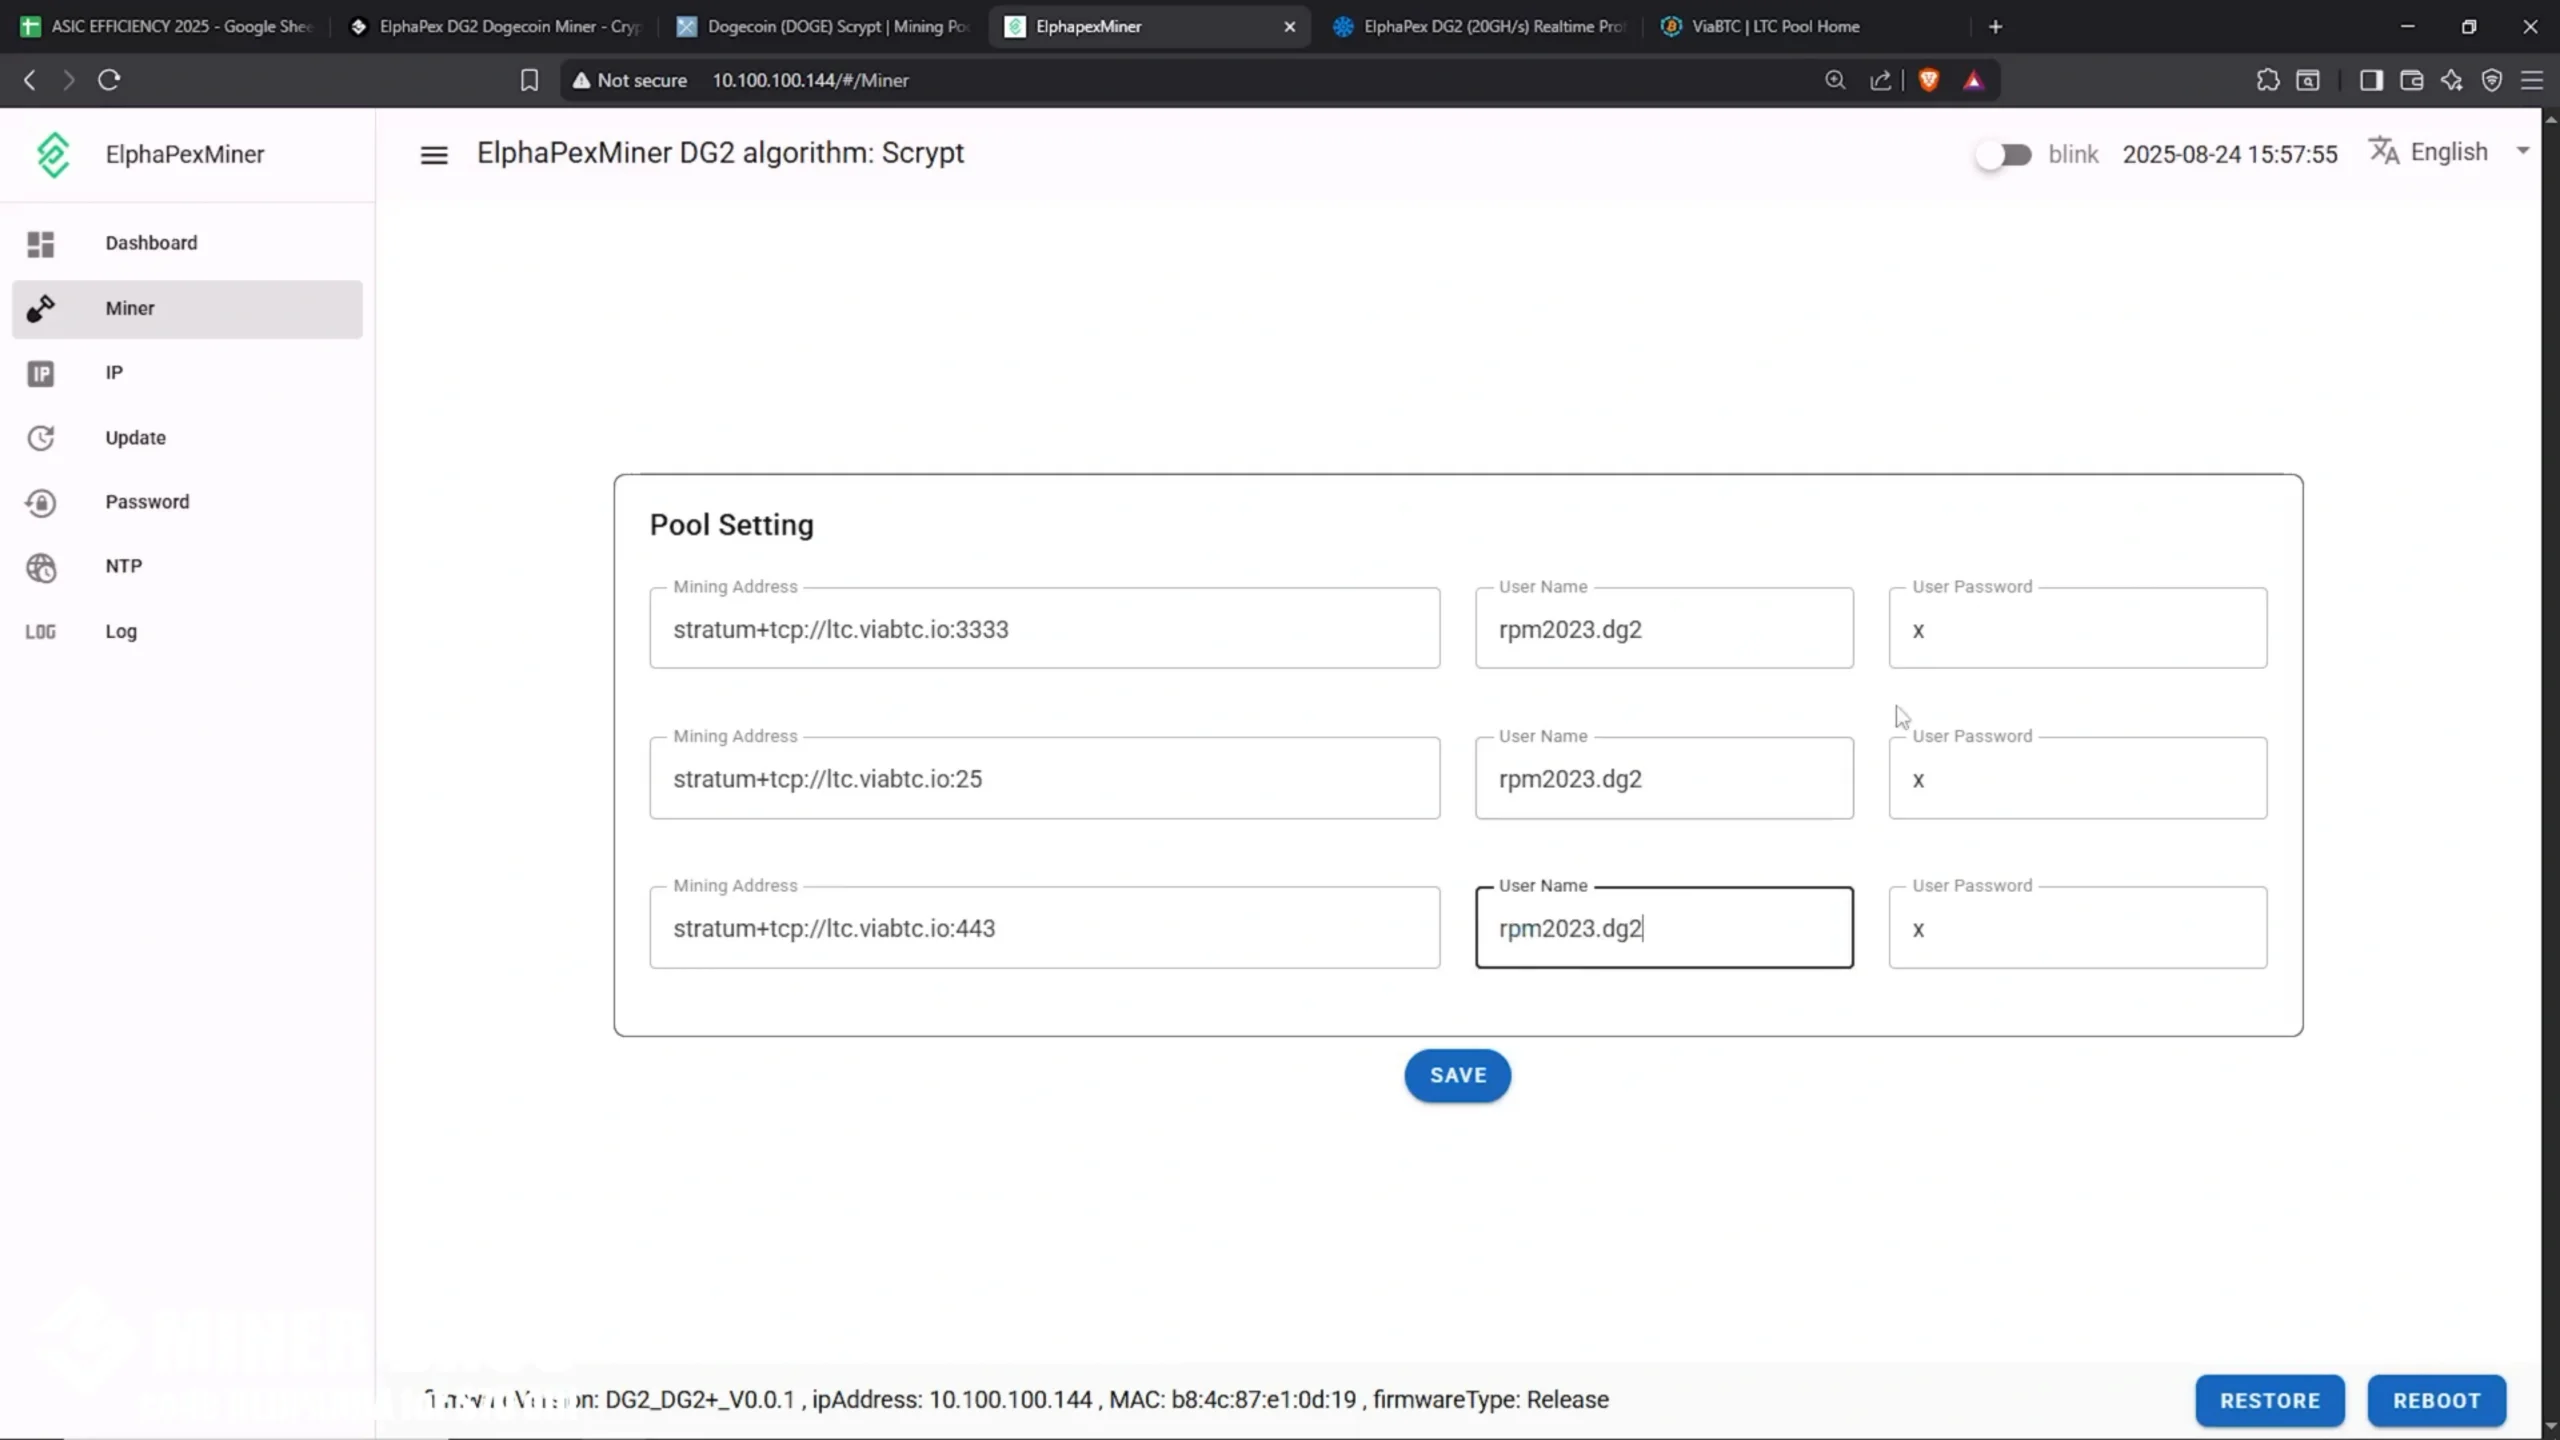
- Click Save.
5. Start Mining
- Once saved, the ElphaPex DG2 will begin connecting to the mining pool. Head over to the Dashboard tab in the web GUI to confirm it’s working. It may take a minute or two for the hashrate to appear.
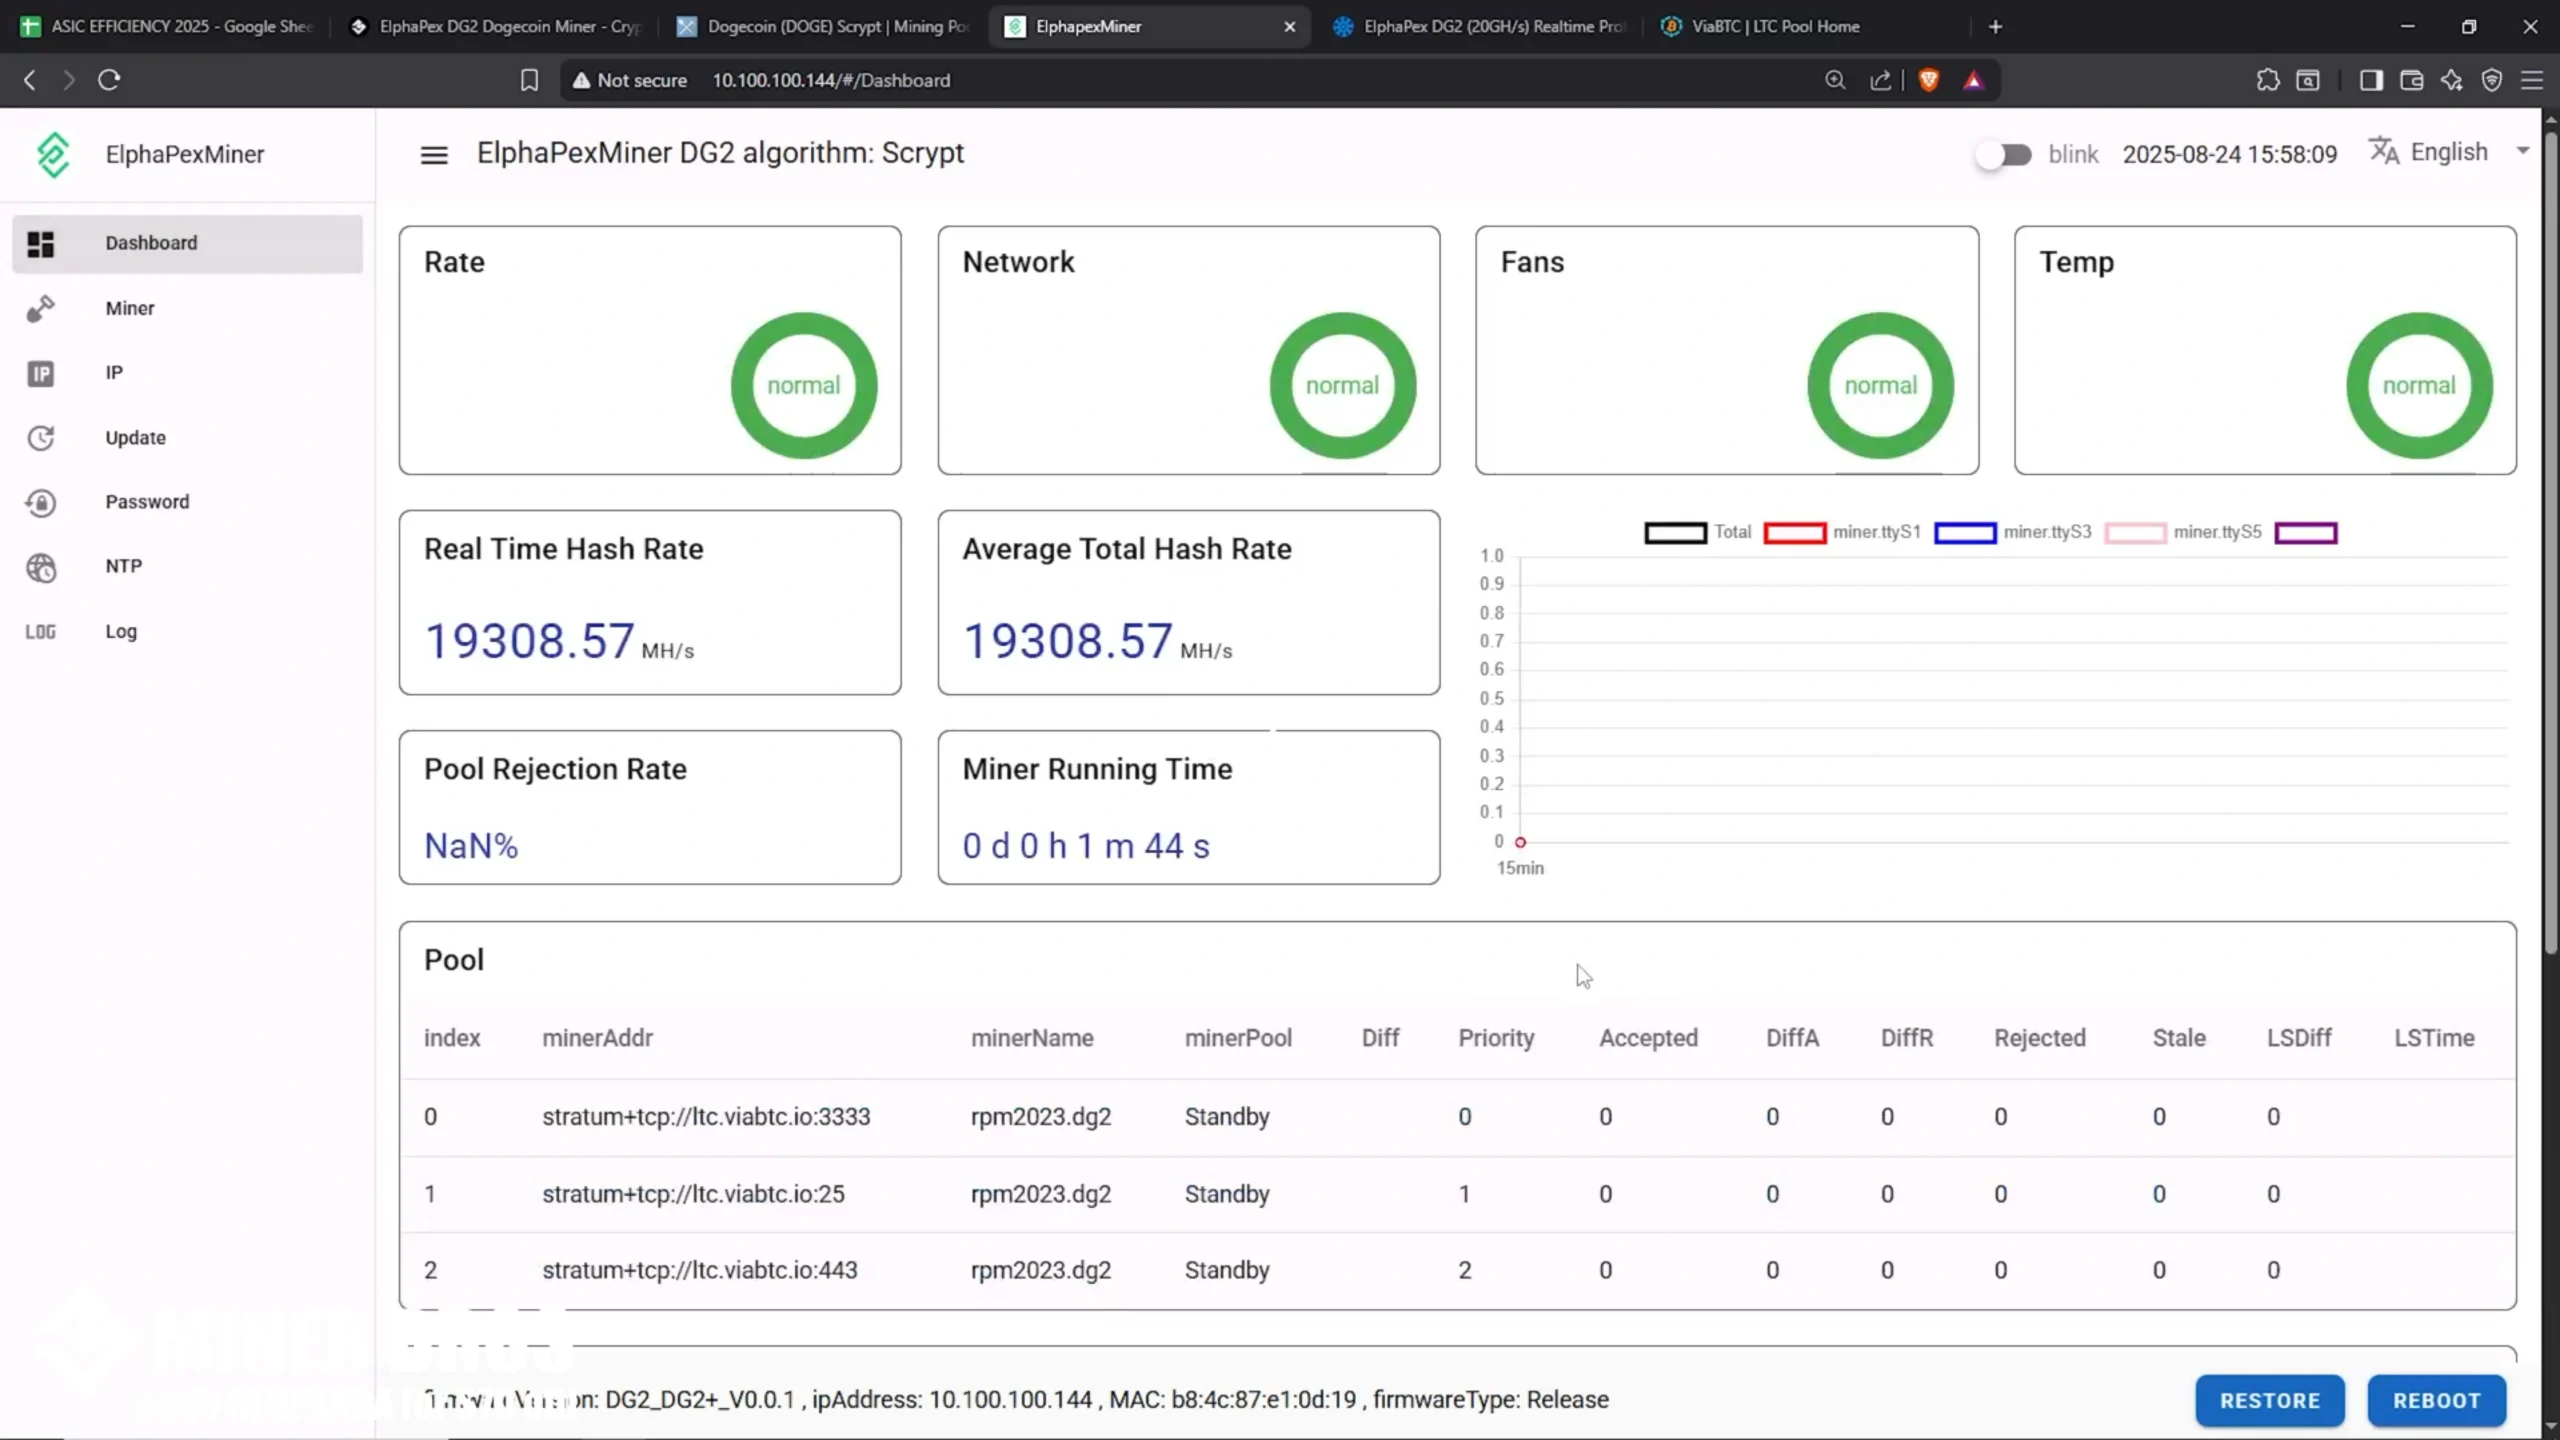
- On your mining pool dashboard (e.g., ViaBTC), you’ll also see your DG2 show up as an active worker.
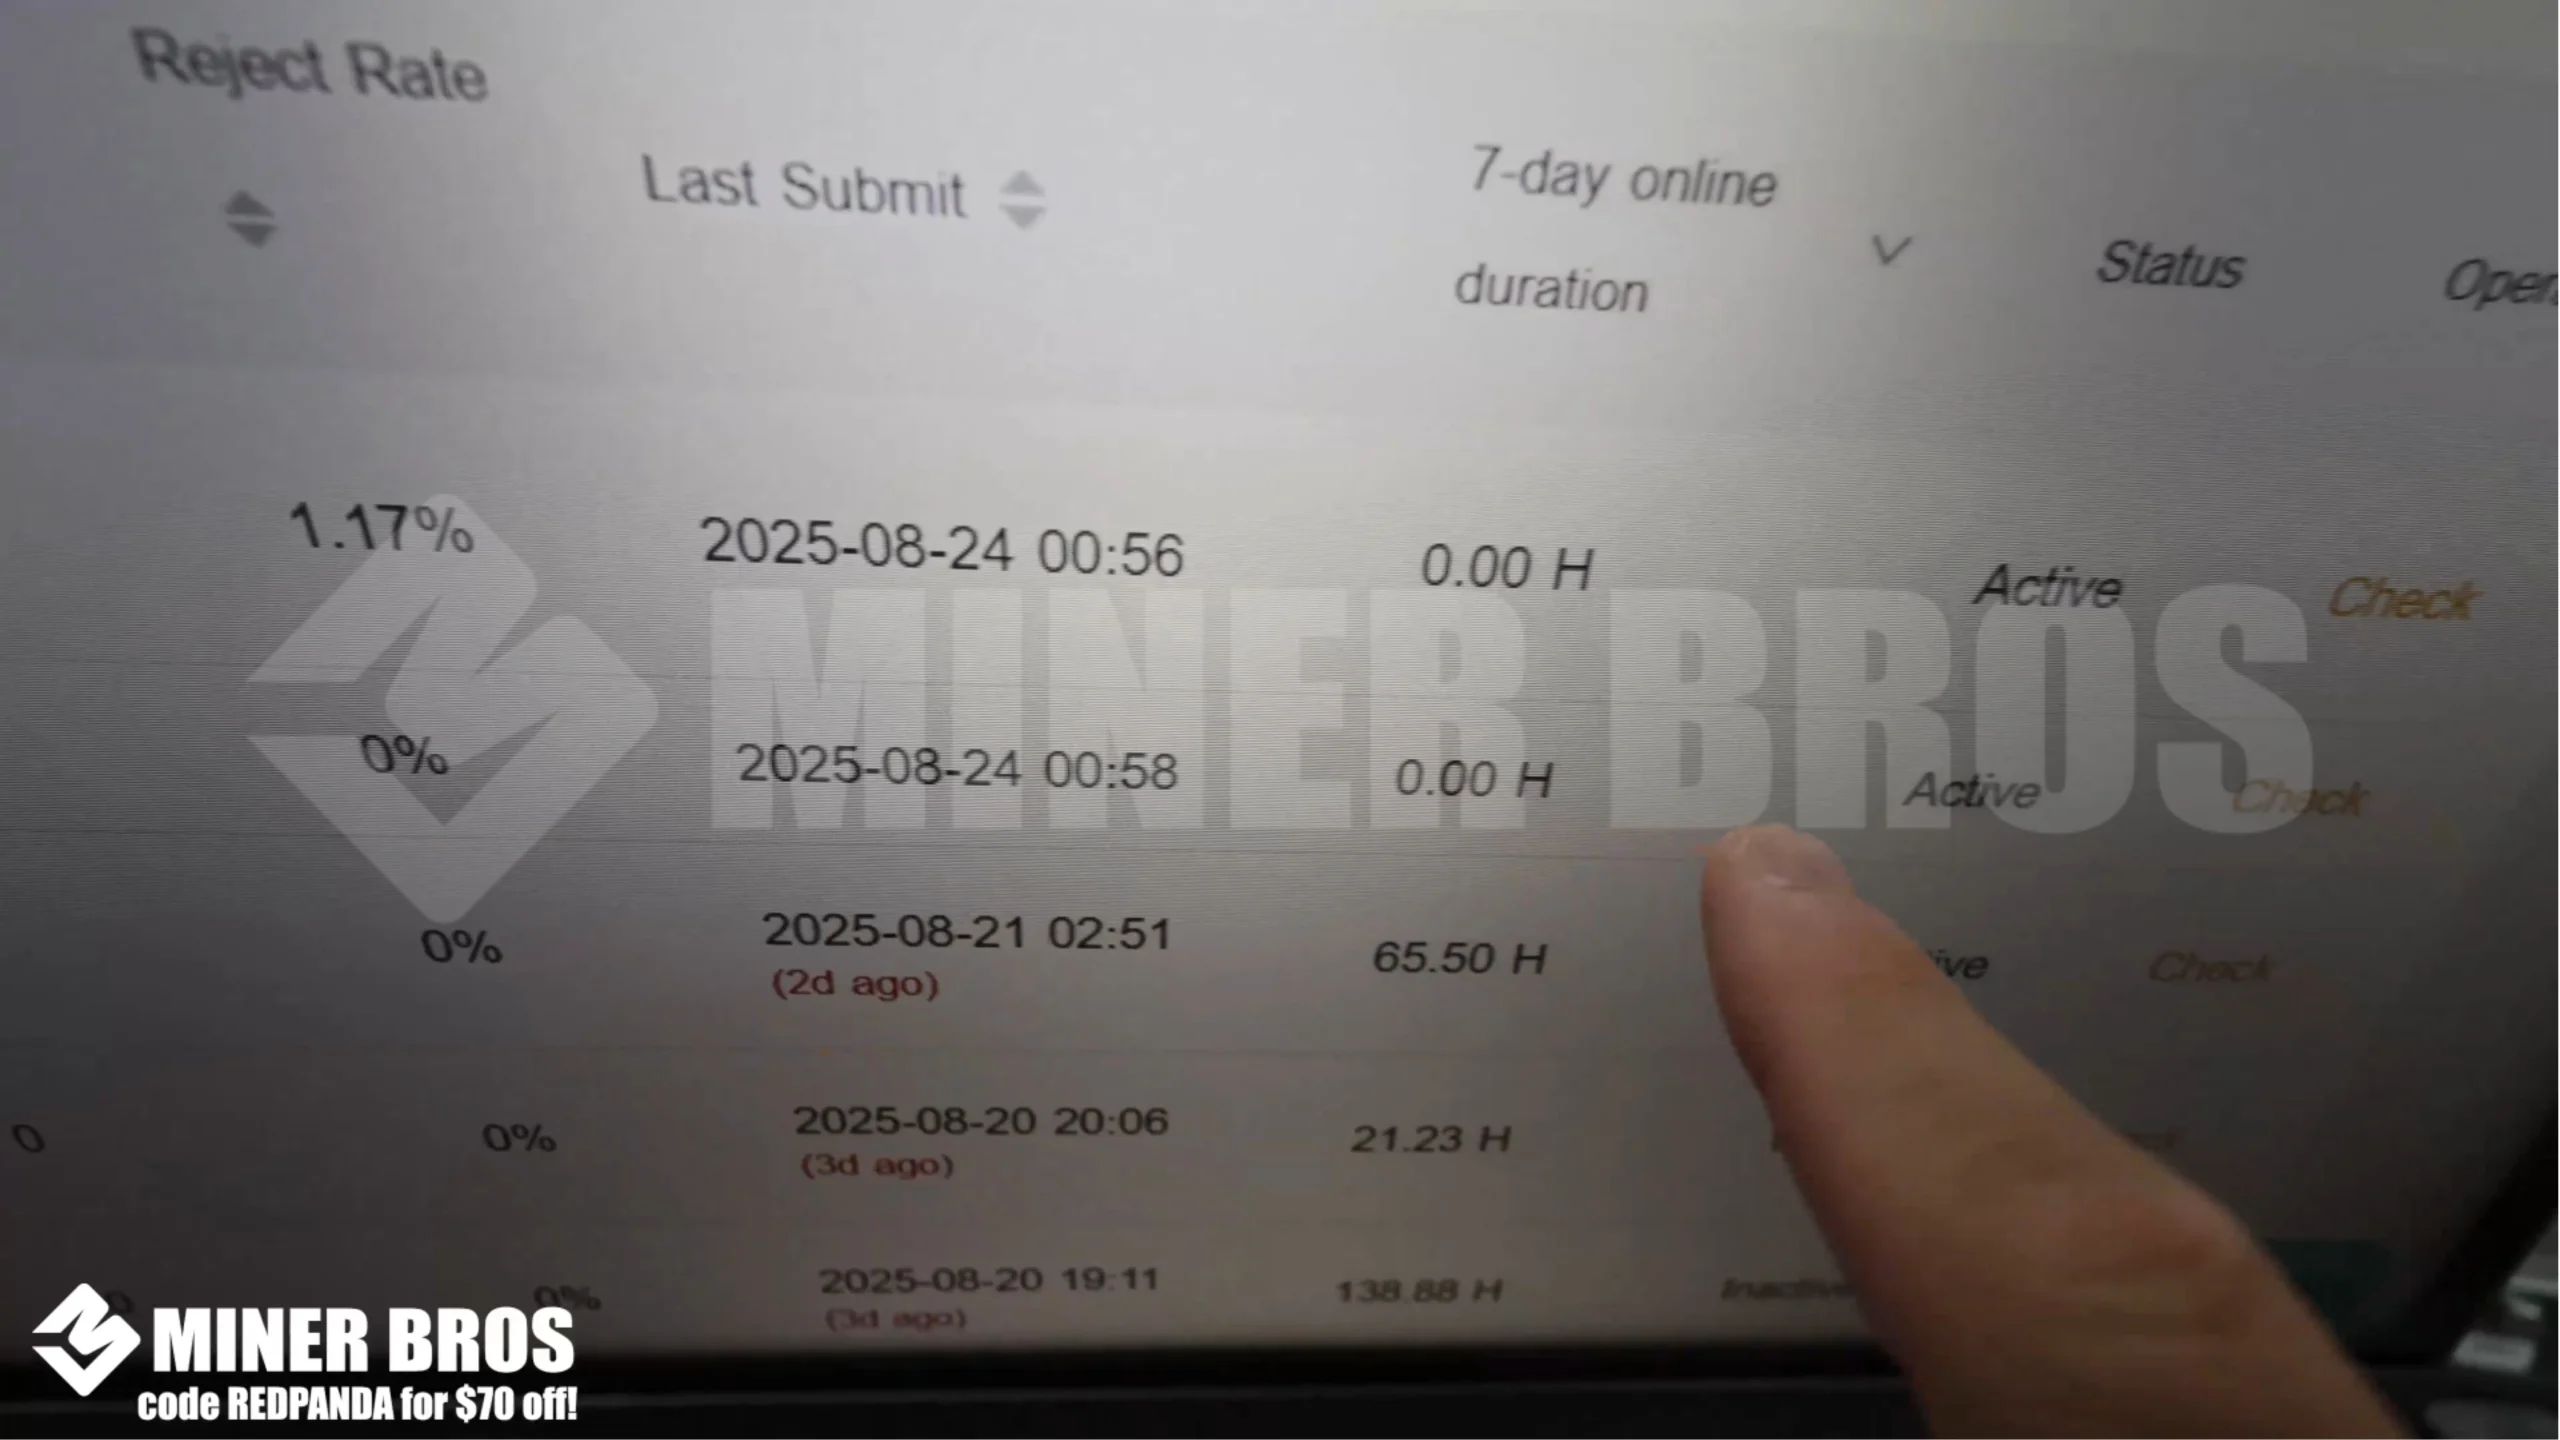
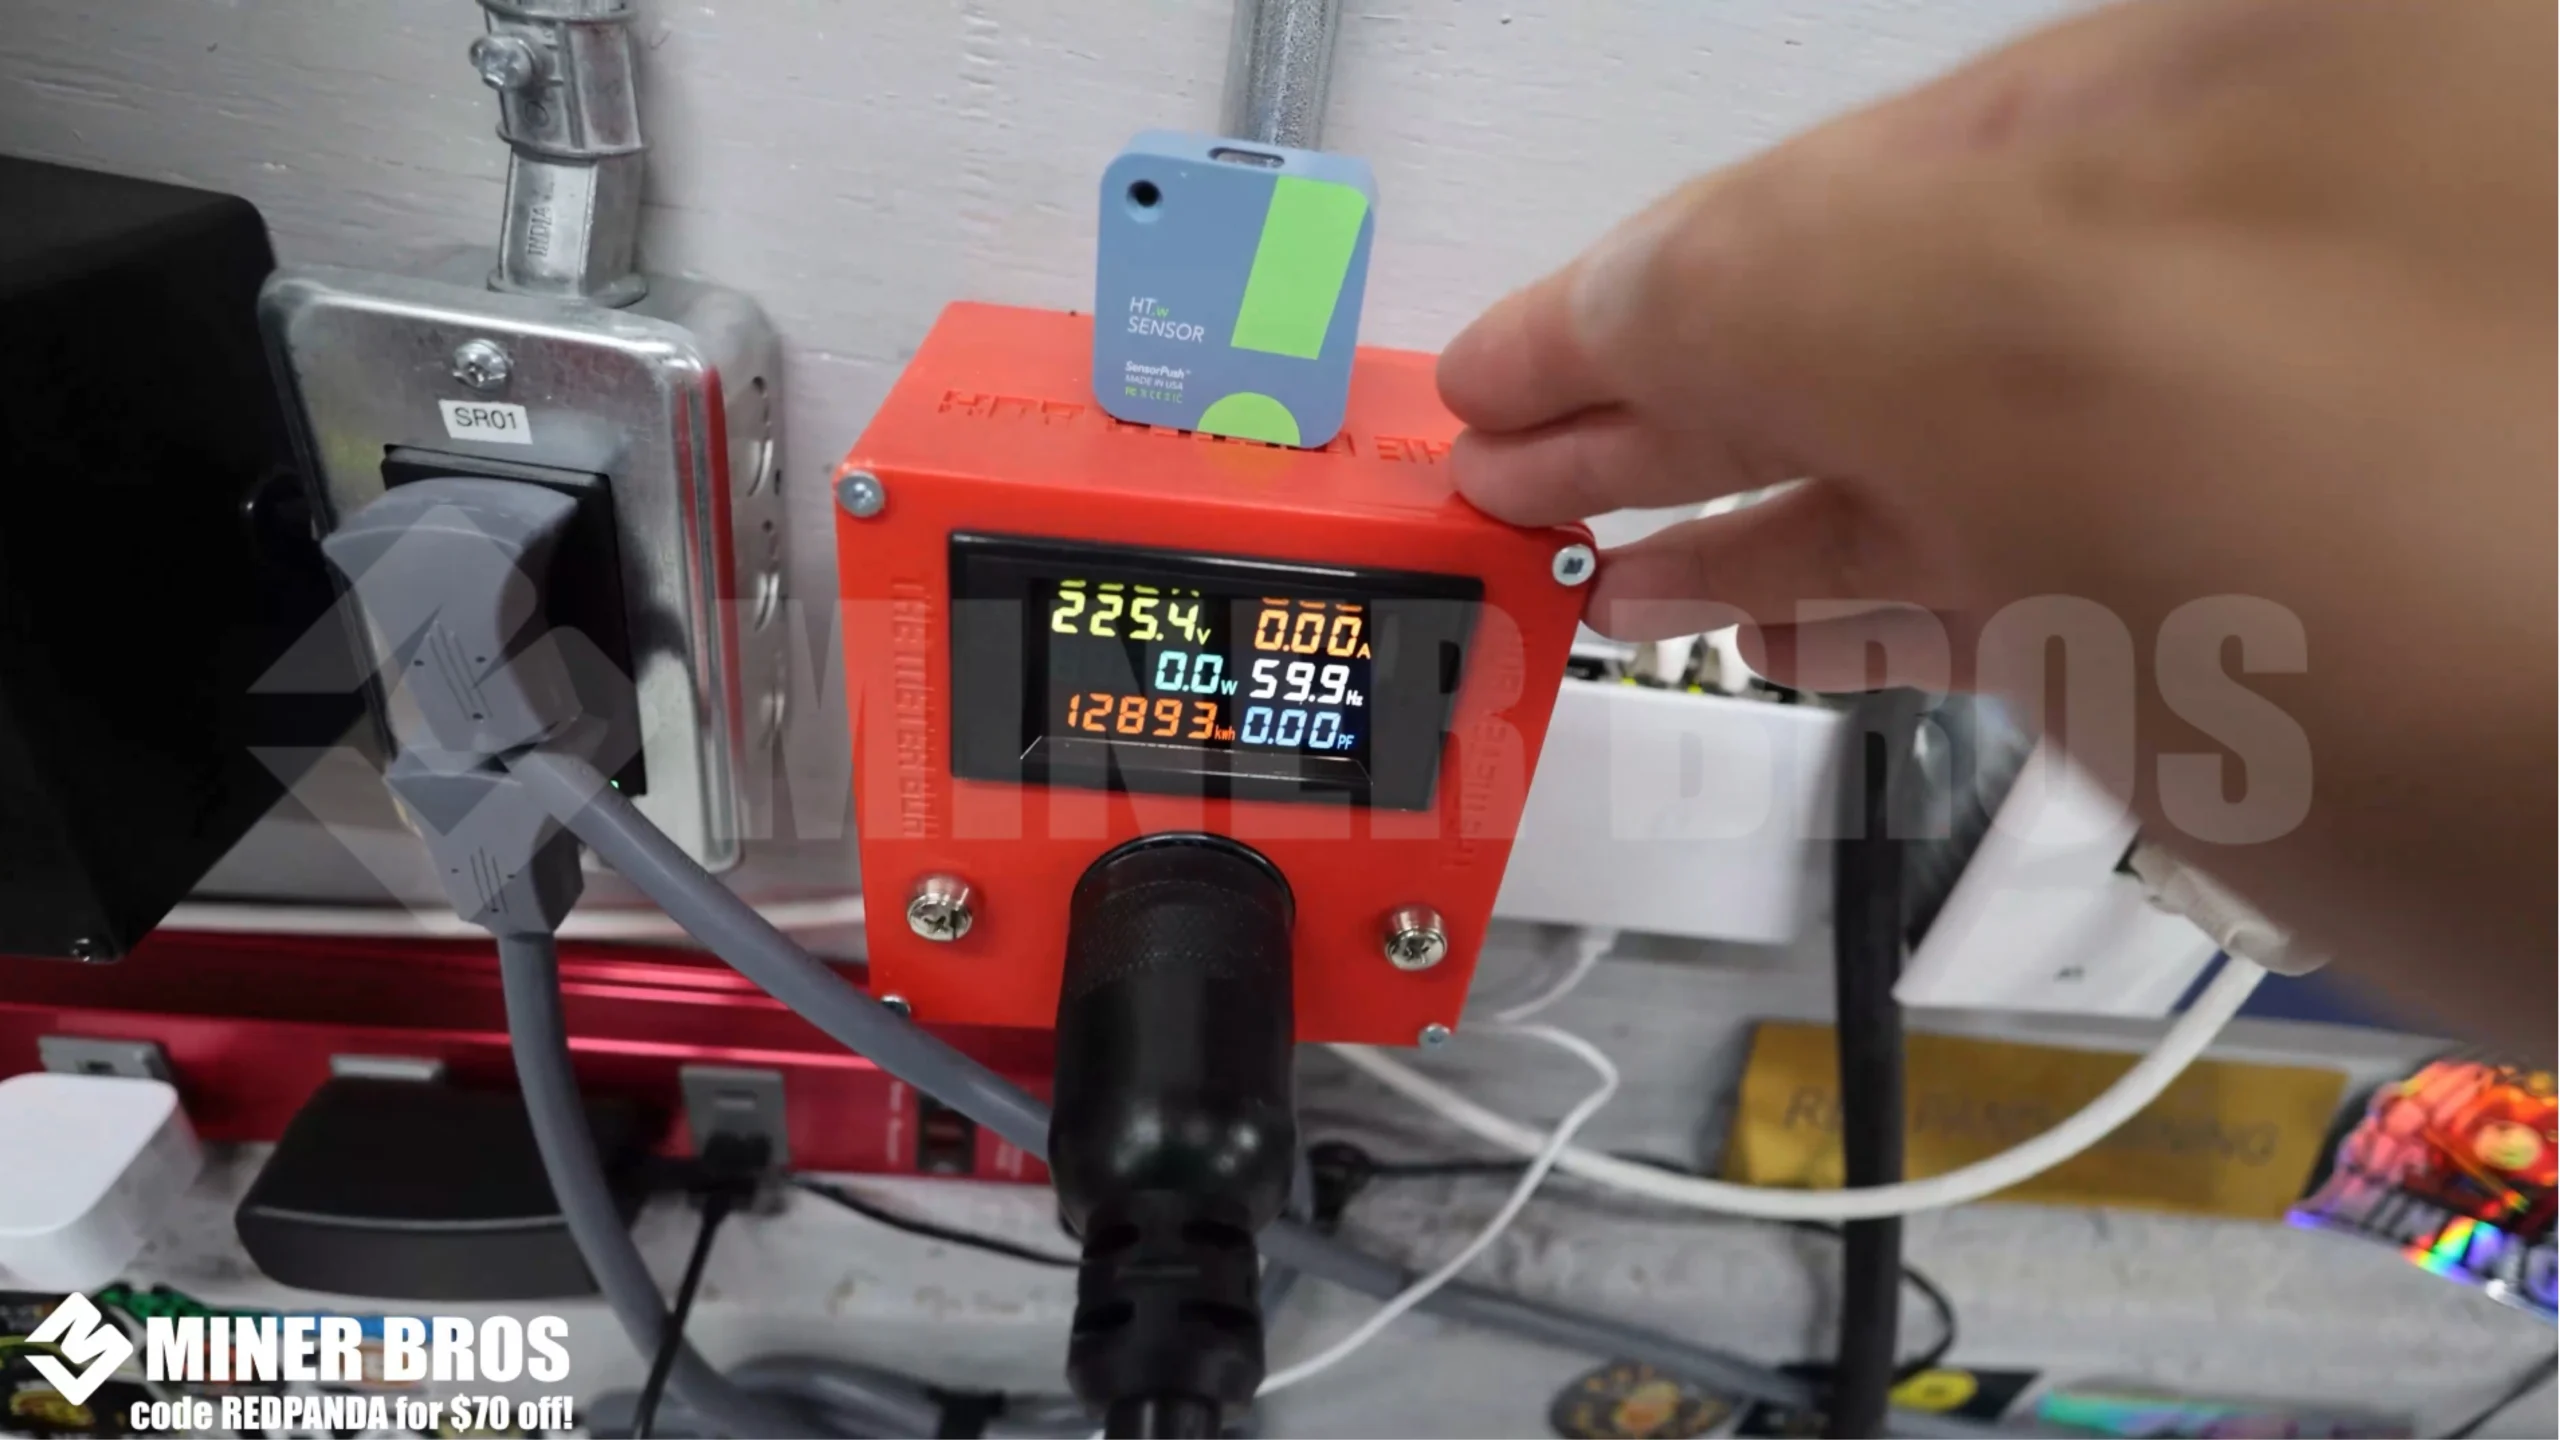
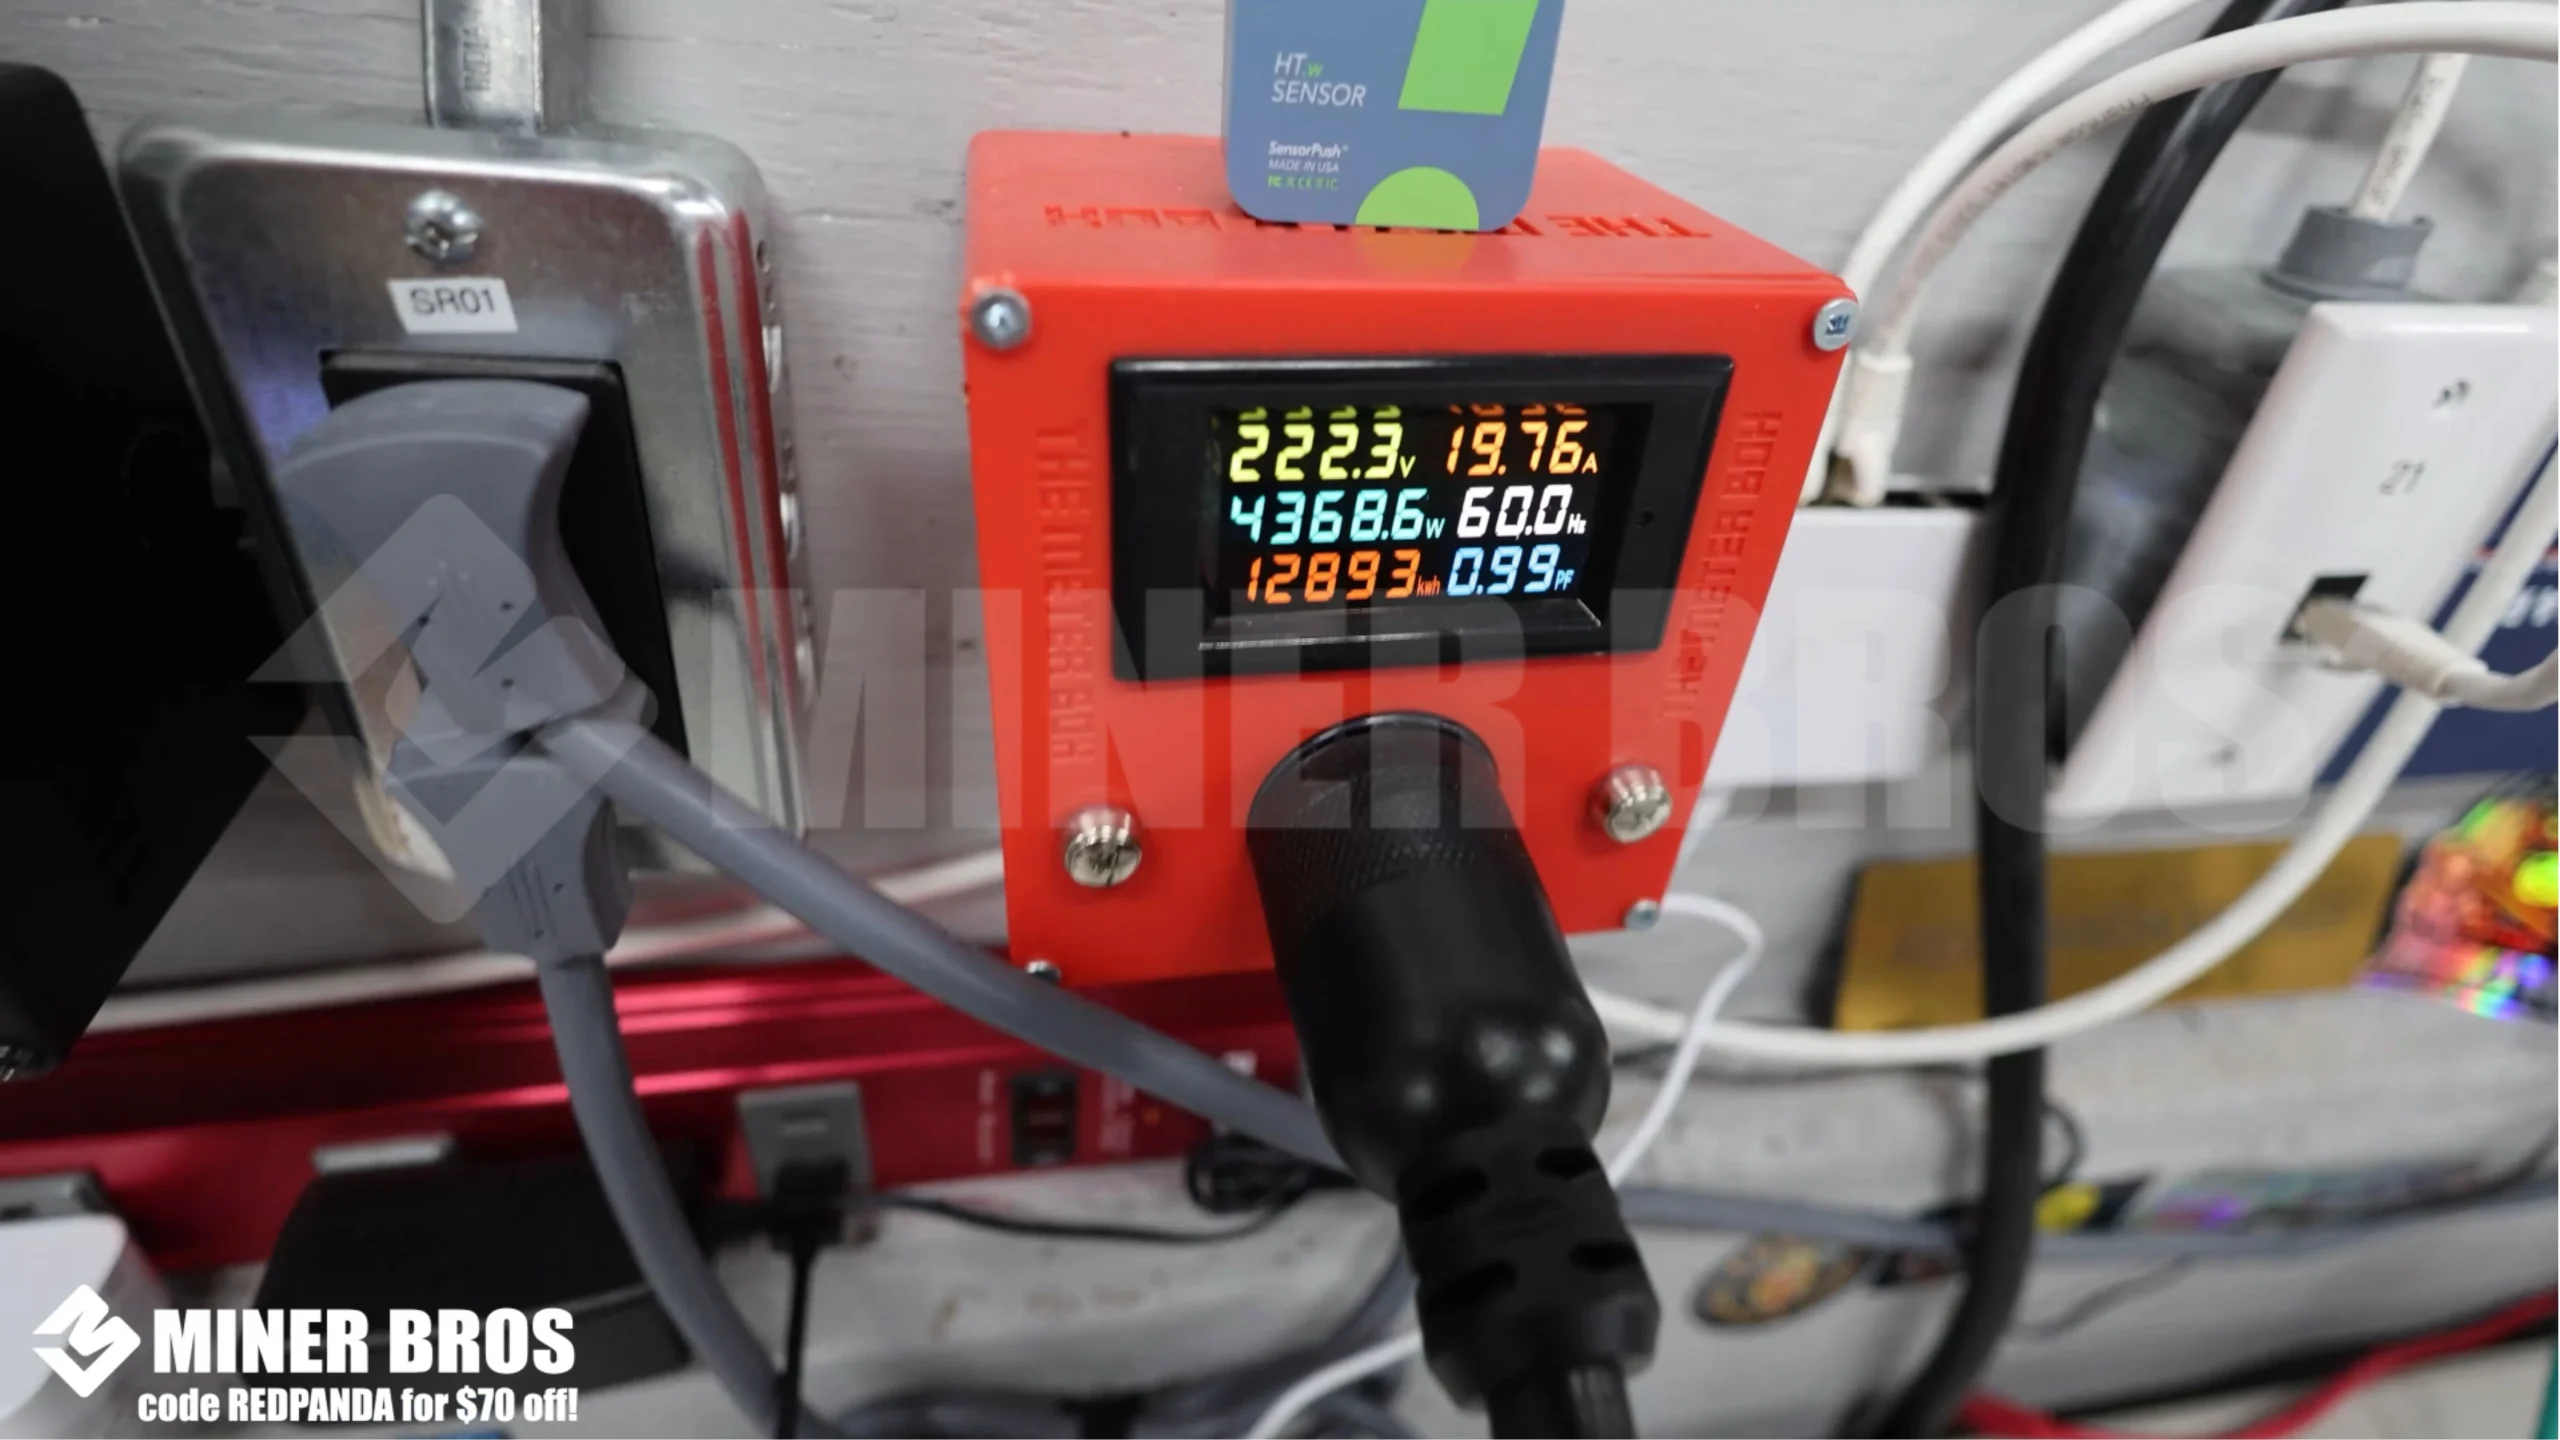
- At first, the miner may draw higher power (around 4,200W+), but after about 10–12 minutes, it should stabilize at ~4,000–4,100W.
And just like that, your ElphaPex DG2 is officially mining Litecoin and merge-mining Dogecoin (and other Scrypt coins).
For the non-readers, we made a feature film!
Check out how to Setup Elphapex DG2
CONCLUSION
Setting up the ElphaPex DG2 is pretty straightforward once you have the right cables, internet connection, and power setup. The key steps include preparing your environment, plugging in Ethernet and power, finding the miner’s IP address, logging into the web GUI, and finally adding your mining pool details. Once configured, the DG2 will begin hashing and you’ll start earning Litecoin and Dogecoin rewards.
Check out the latest Scrypt Miners
FAQs ON HOW TO SETUP ELPHAPEX DG2
-
Does the ElphaPex DG2 support Wi-Fi?
No, it only works with a wired Ethernet connection.
-
How much power does the DG2 consume?
It runs at around 4,000–4,100W, though startup may temporarily draw more.
-
What coins can I mine with the DG2?
The DG2 mines Litecoin (LTC) and merge-mines Dogecoin (DOGE) along with other Scrypt-based merge-mining coins.
-
Do I need a special circuit for this miner?
Yes, you need a 240V 30A circuit, ideally installed by a certified electrician.
-
Which mining pools can I use?
You can use pools like ViaBTC, F2Pool, LitecoinPool.org, and many others that support Scrypt mining.

Join our Newsletter
Get the week’s best cryptomining content in your inbox.

Han su
Han Su is a technical analyst at CryptoMinerBros, a leading provider of cryptocurrency mining hardware. He has over 5 years of experience in the cryptocurrency industry and is an expert in mining hardware, software, and profitability analysis.
Han is responsible for the technical analysis and research on ASIC Mining at Crypto Miner Bros. He also writes in-depth blogs on ASIC mining and cryptocurrency mining, and he has a deep understanding of the technology. His blogs are informative and engaging, and they have helped thousands of people learn about cryptocurrency mining.
He is always looking for new ways to educate people about cryptocurrency, and he is excited to see how the technology continues to develop in the years to come.
In spare time, Han enjoys hiking, camping, and spending time with his family. He is also an avid reader, and he loves to learn about new things.
Similar Blogs
ASIC Firmware & Software: How to Keep Your Miners Updated and Secure
Discover how to upgrade ASIC firmware safely, safeguard against security risks such as Antbleed vuln...
Advanced Cooling and Noise Management for Home ASIC Mining Rigs
Complete guide on cooling and noise reduction for home bitcoin mining. Learn liquid cooling, immersi...
Quantum Computing and Crypto Mining: Future Challenges and Opportunities
Full guide to quantum computing & crypto mining. Knowing blockchain quantum threats, post-quantum bl...